Using a 5mm Hex tool (included in your accessory box) loosen the two bolts on either side of the non-drive side crank arm. DO NOT REMOVE JUST LOOSEN.
Steps 2
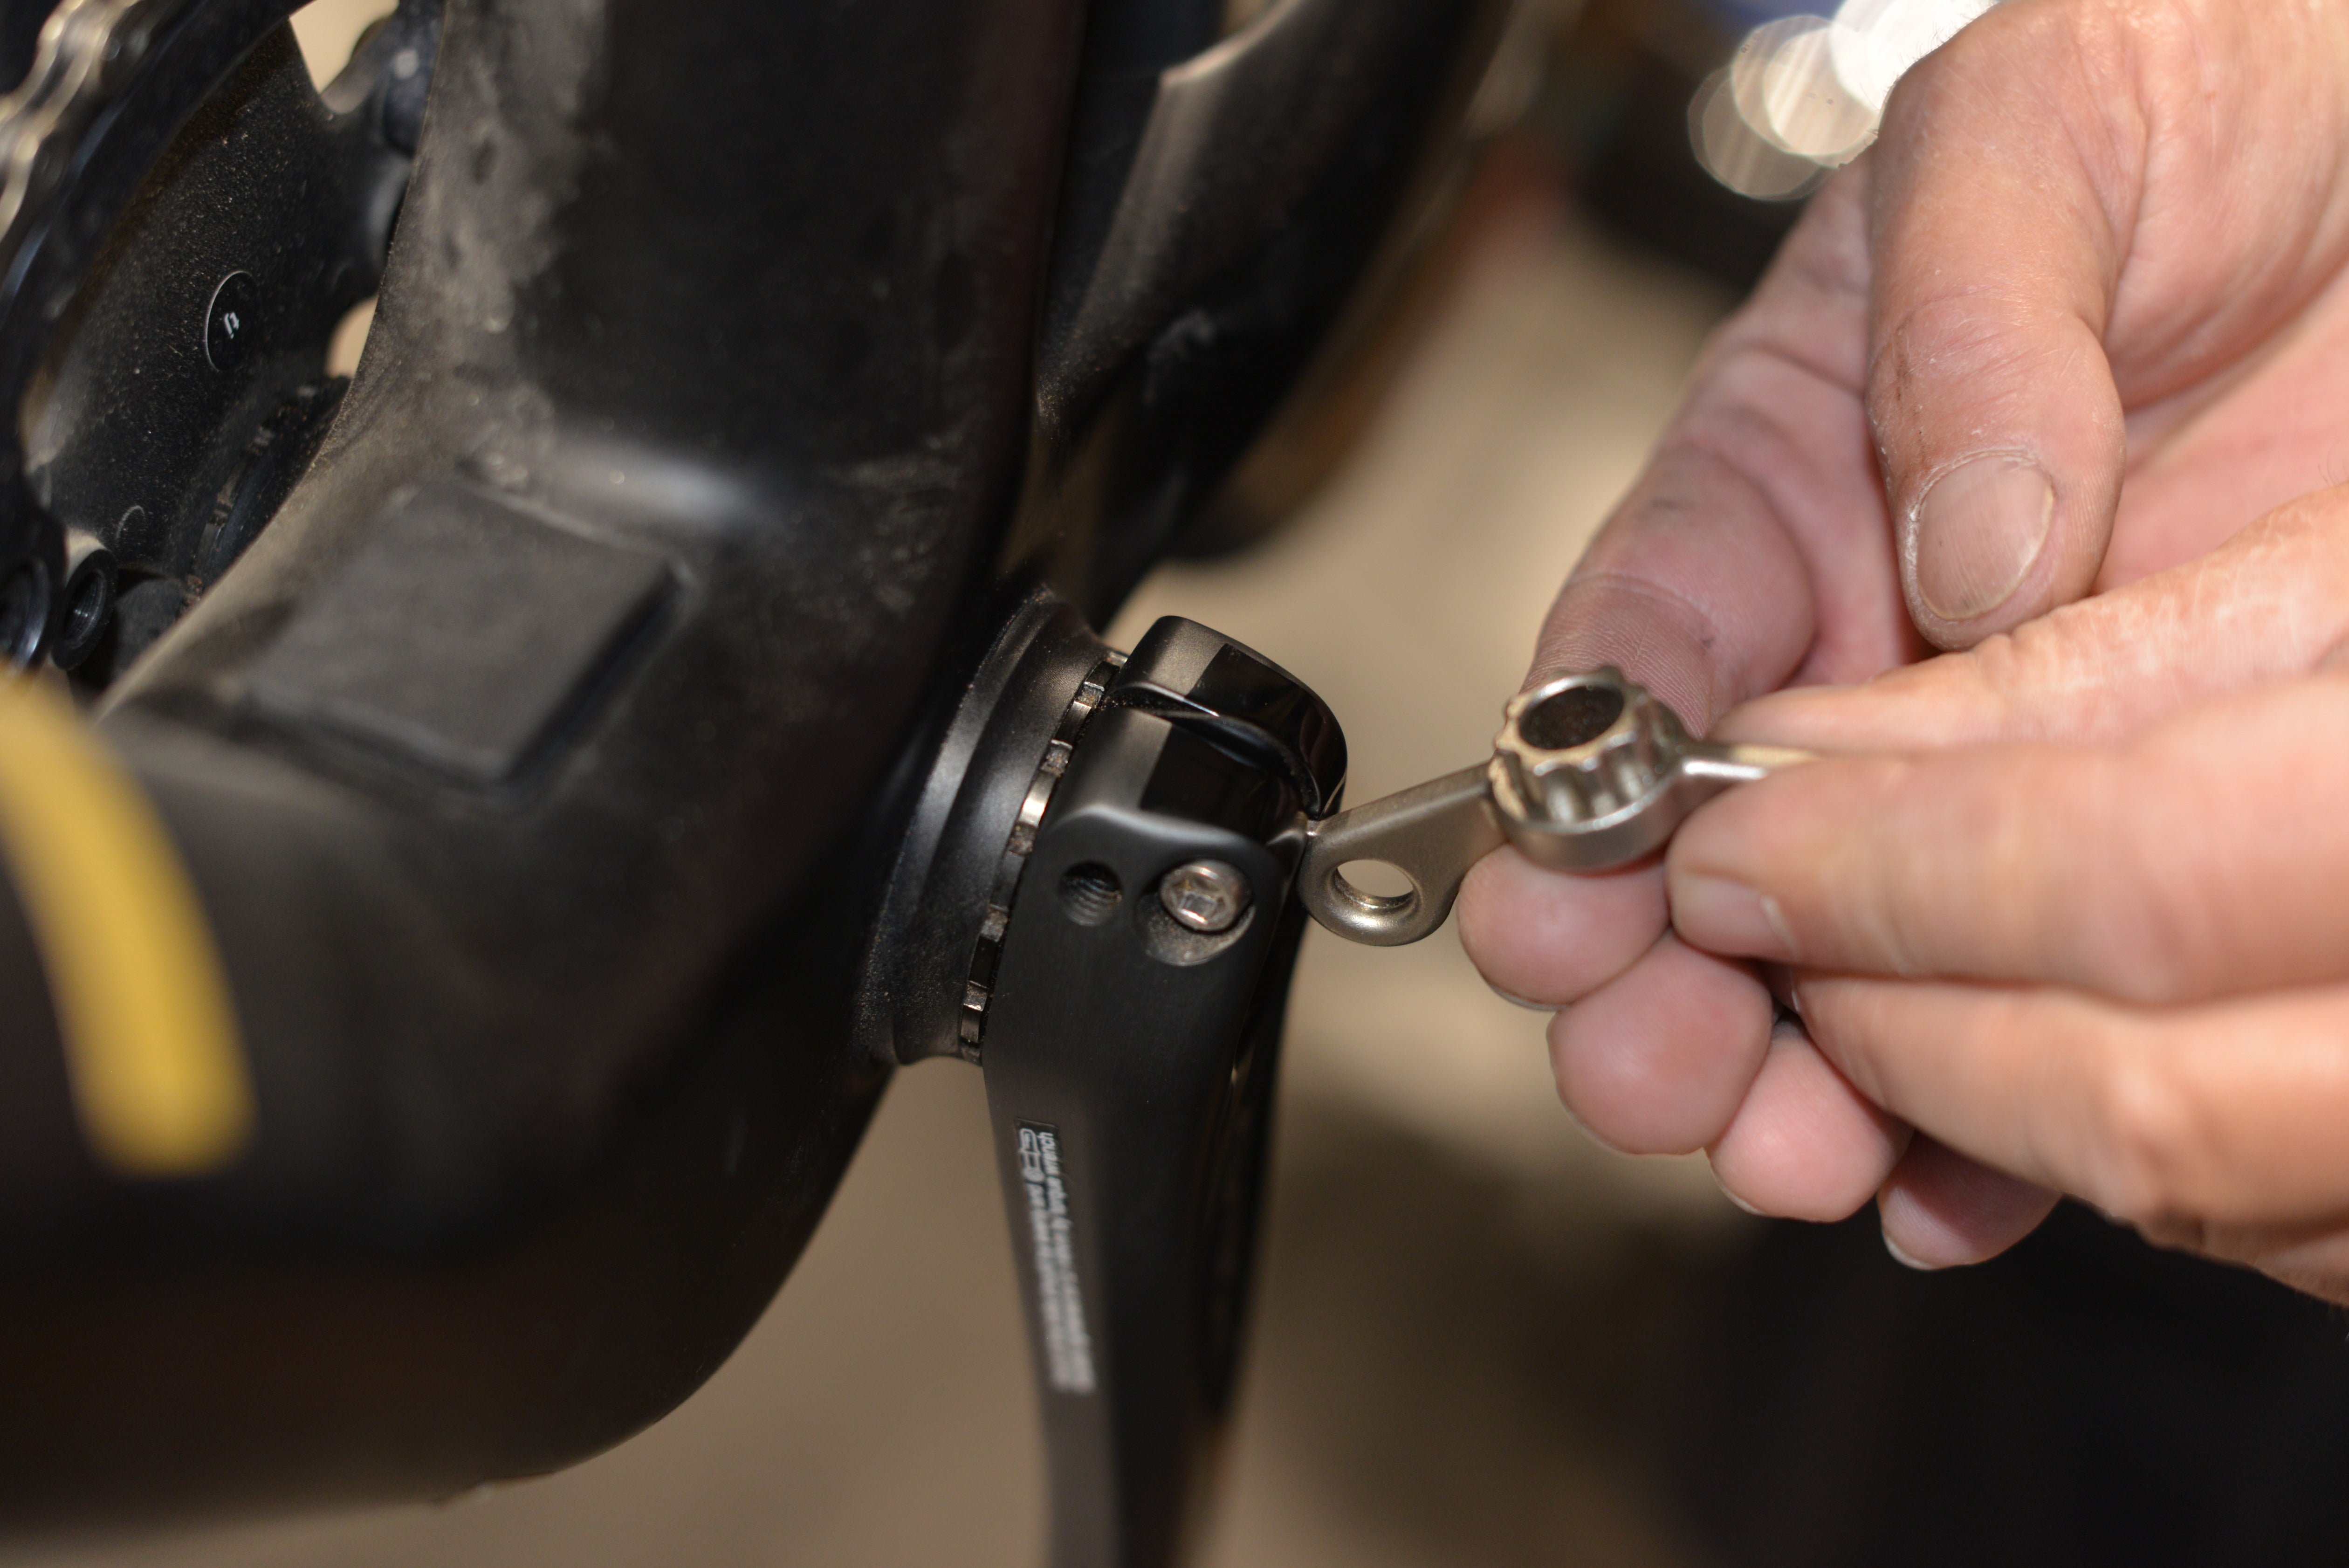
Using the hook end of the tool included in the package. Lift the plastic security tab in the middle of the crank. It does not come all the way out, it simply lifts up to allow the crank to be removed.
Steps 3
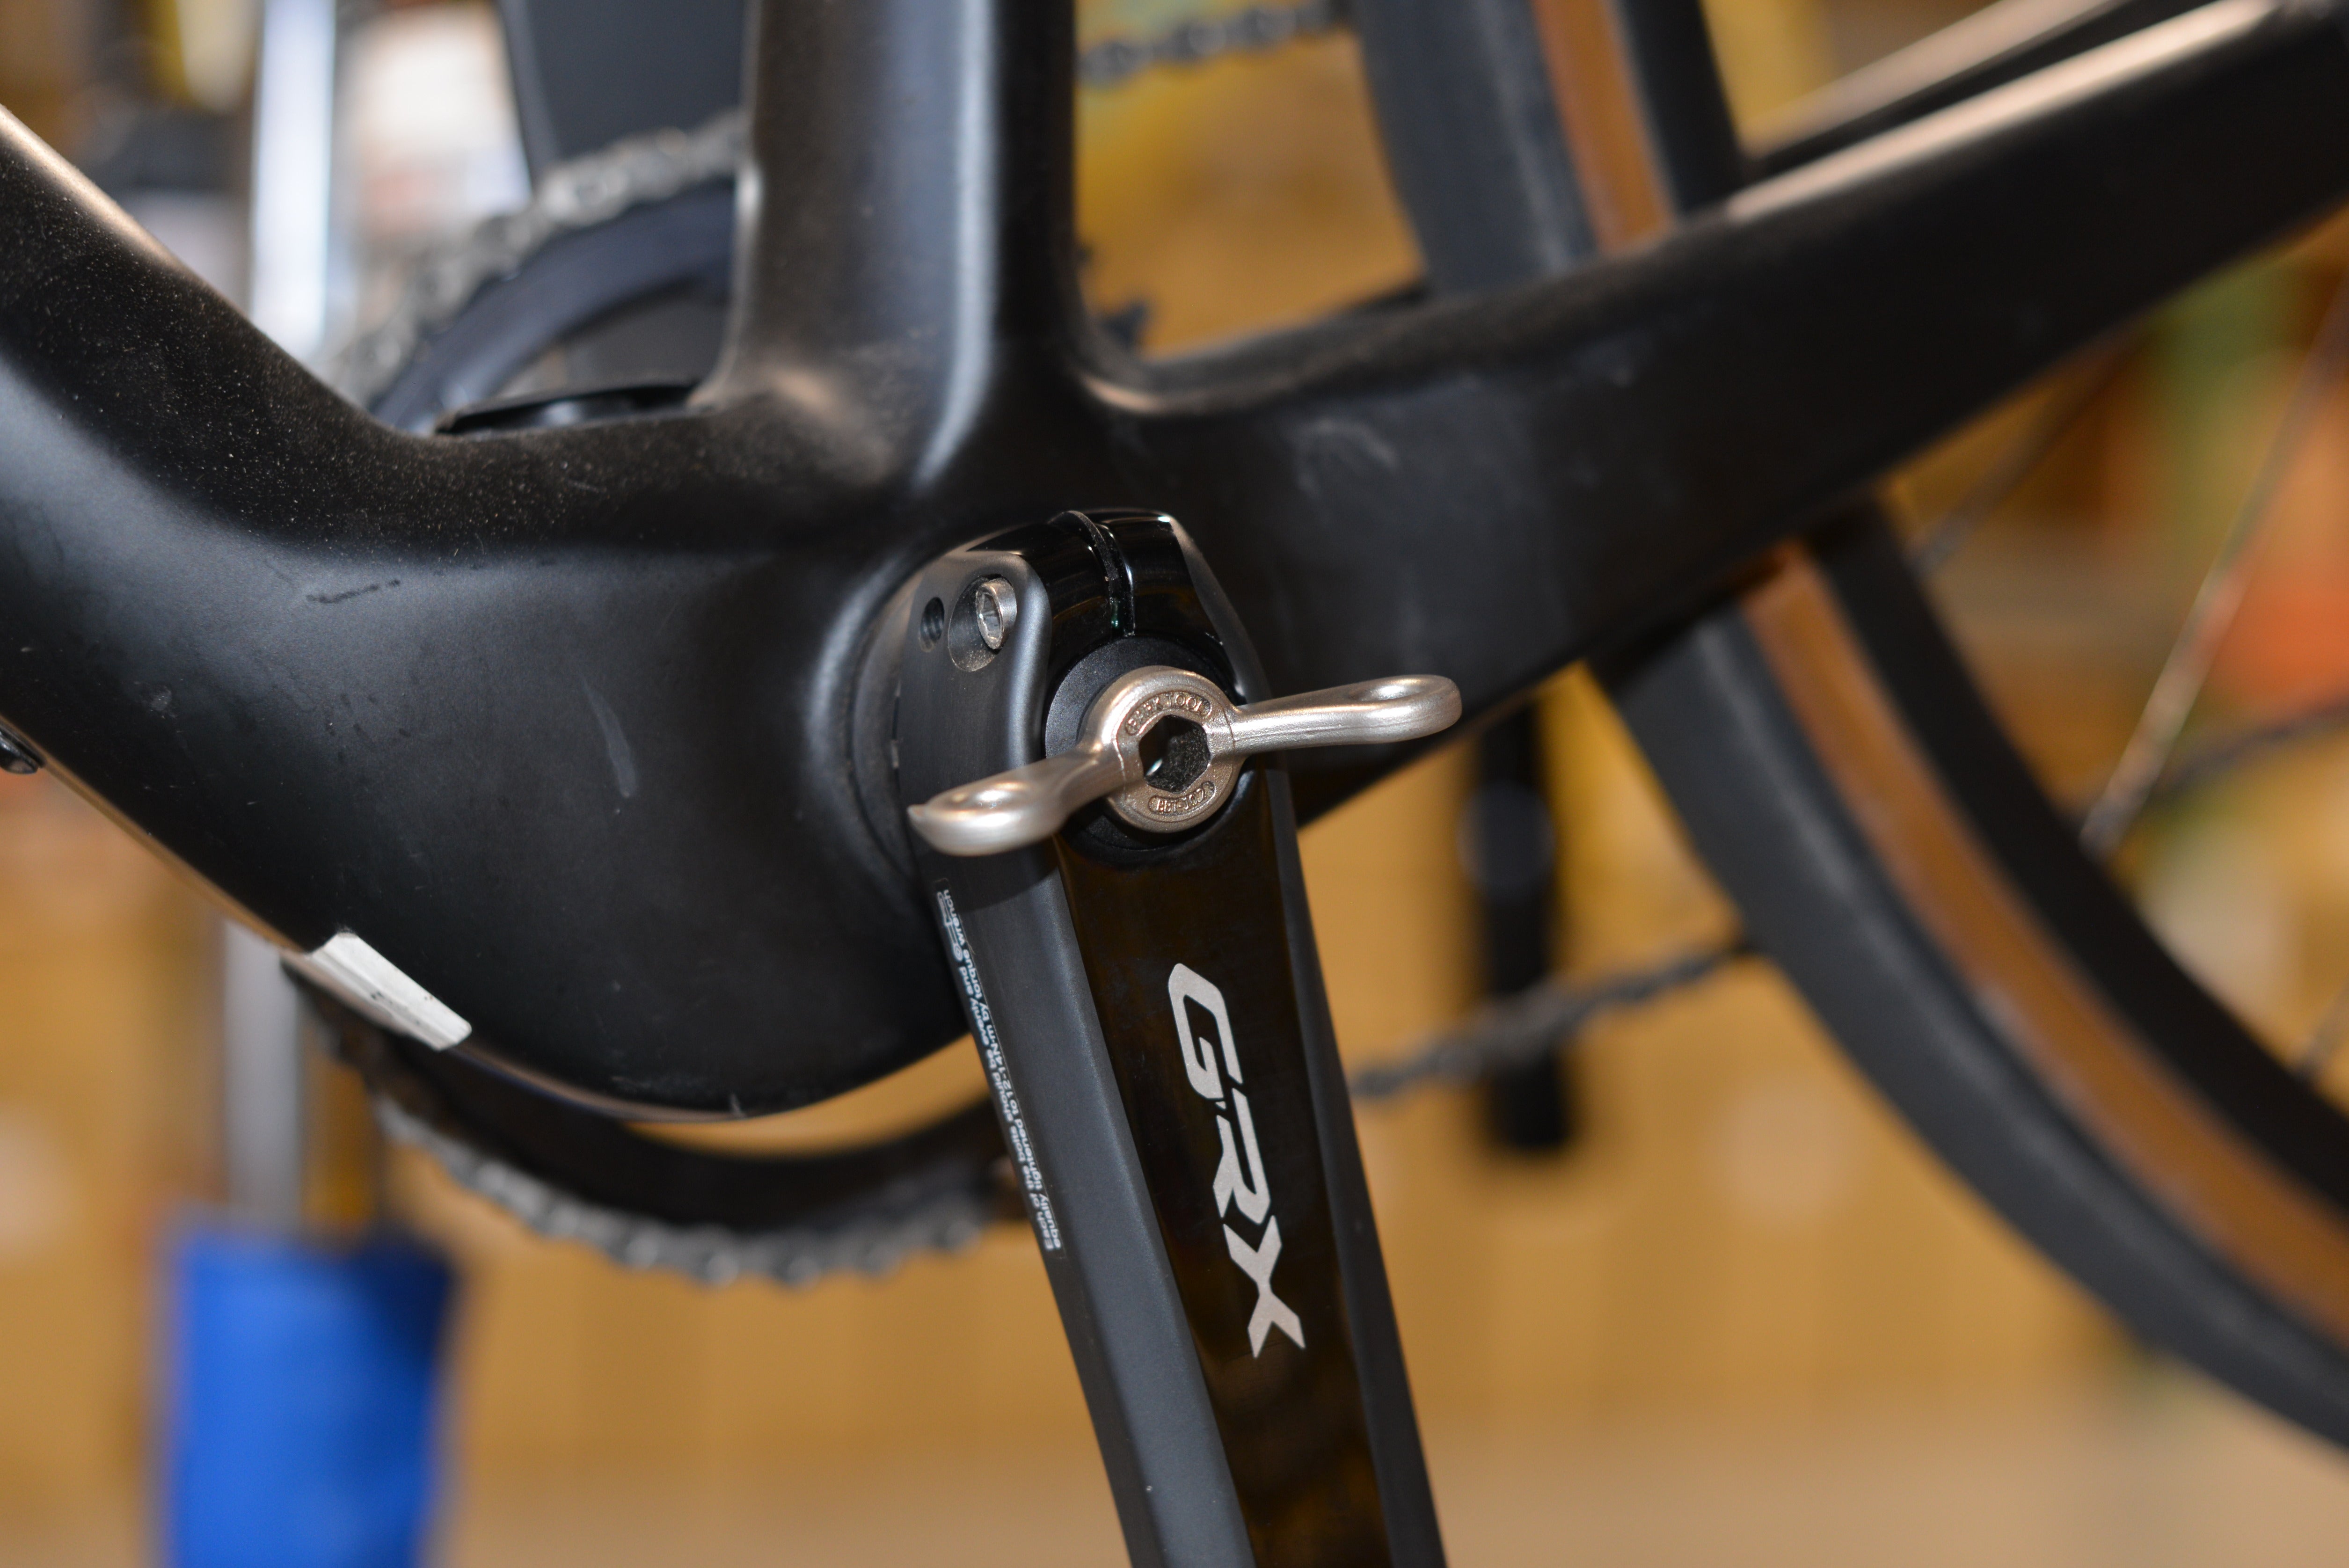
Using the same tool remove the plastic crank compression lock ring from the center of the crank. This should not be tight and easy to remove.
Steps 4
Once the plastic crank compression lock ring is removed you can now remove the crank arm. It should just pull off the spindle.
Step 5
To install the new crank arm the process is as simple as reversing the steps above. Slide the new crank arm on the spindle making sure it is pointing the opposite way to the drive side crank arm. Install the plastic crank compression lock ring. This does not need to be overtightened, hand tight is fine. Once installed make sure to push the plastic security tab down. Now tighten the bolts on the crank using the 5mm hex tool making sure to tighten them evenly, moving between both bolts until both reach 13nm.
Your new crank arm is now installed.
Your Cart
Need Gear?
Choosing a selection results in a full page refresh.