Installing The IWoc Trio Remote.
These instructions will assist you installing the IWoc Trio remote on your LeMond Bicycle. This process is the same for the Dutch and the Prolog. This is quiet and involved process and is recommended to be completed by a bicycle shop.

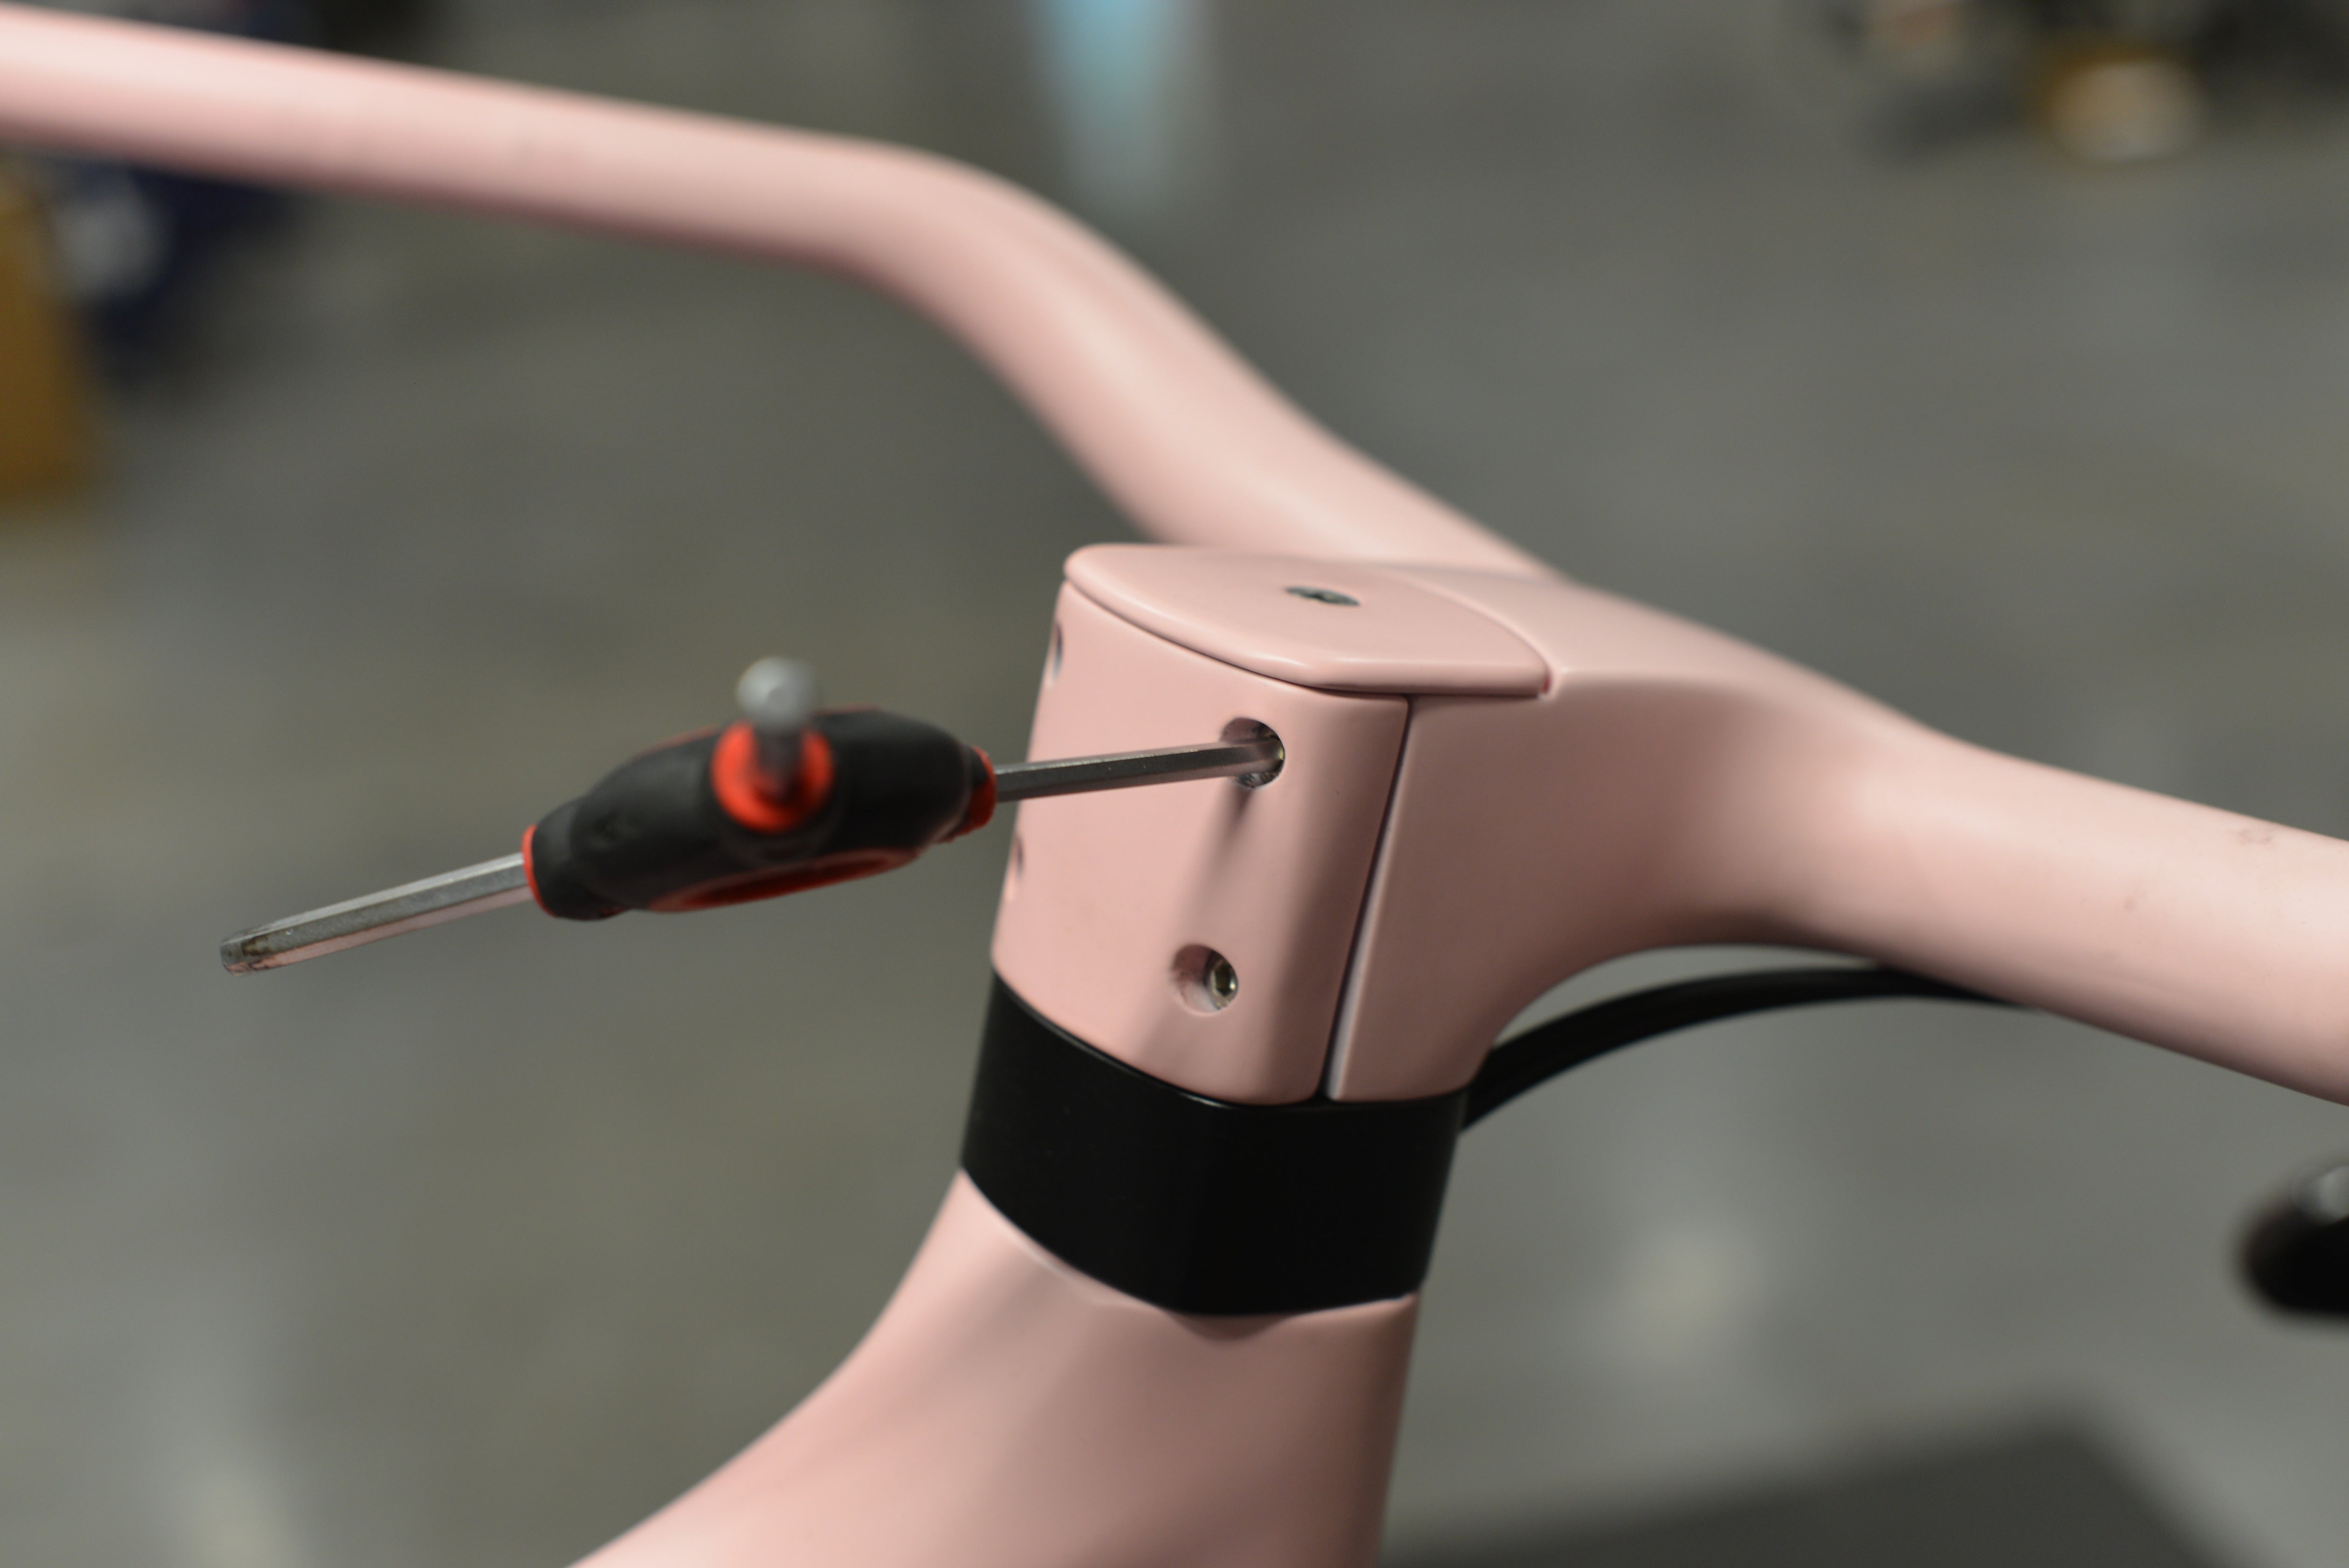
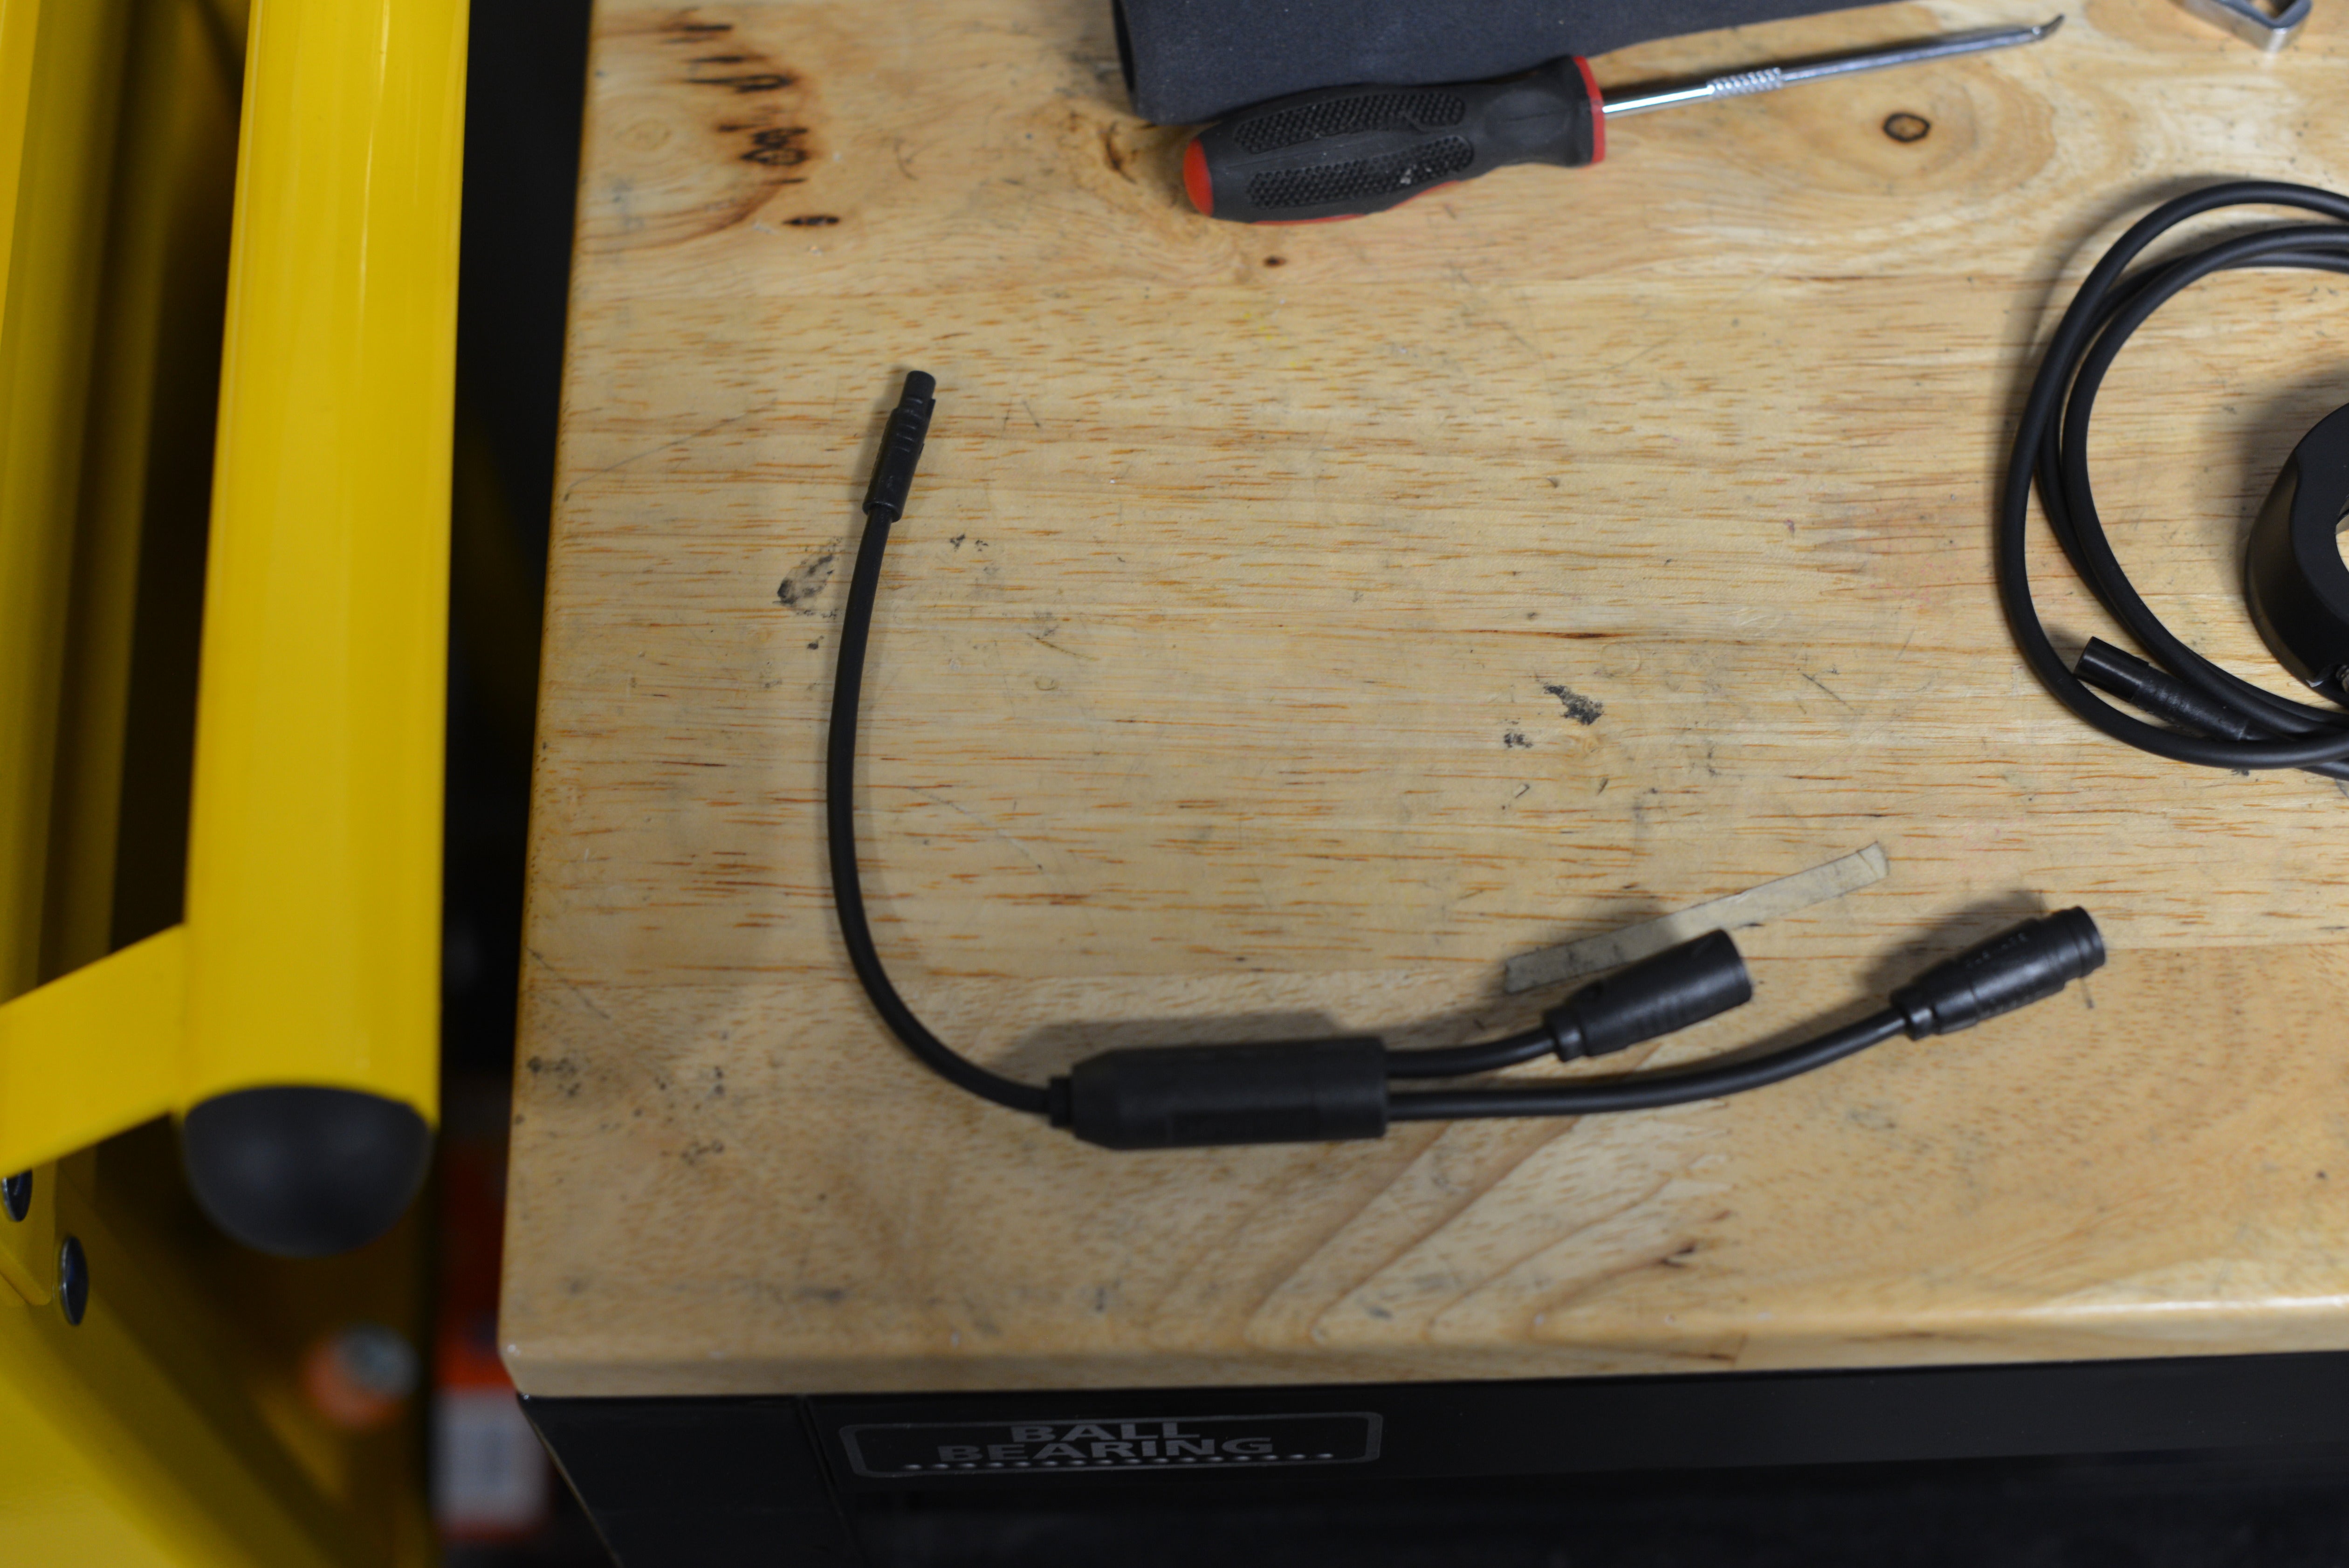
Steps 1
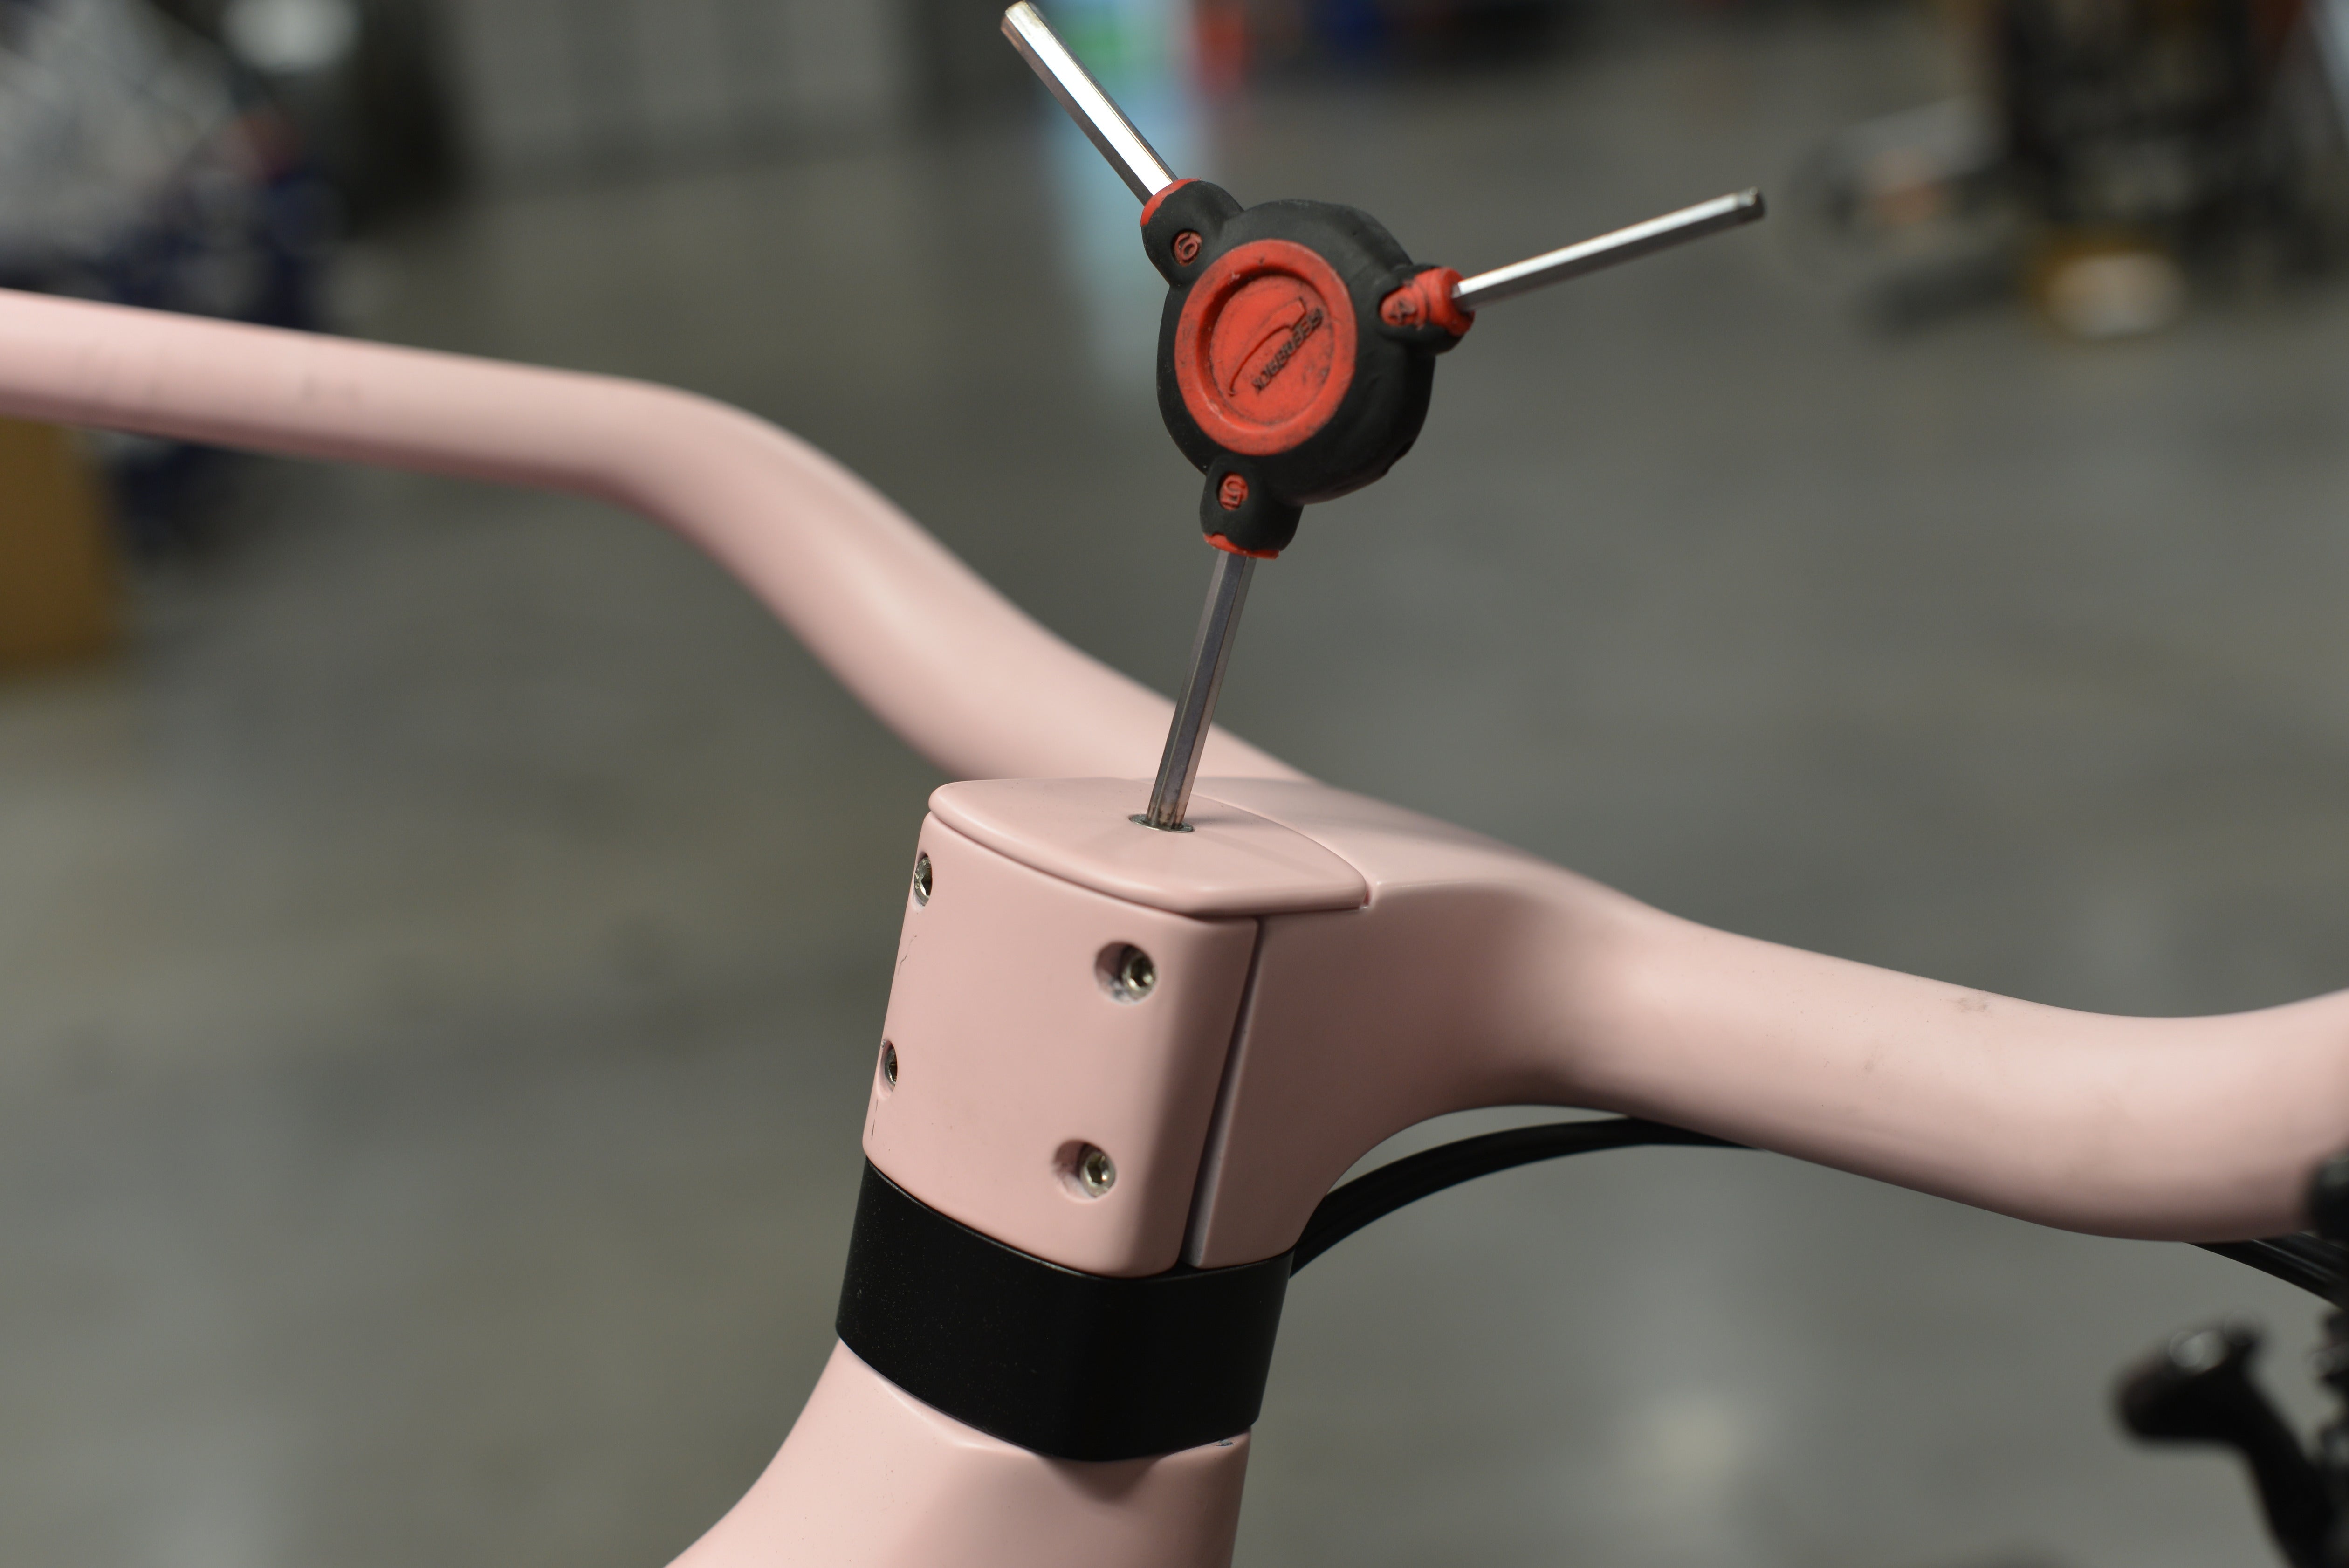
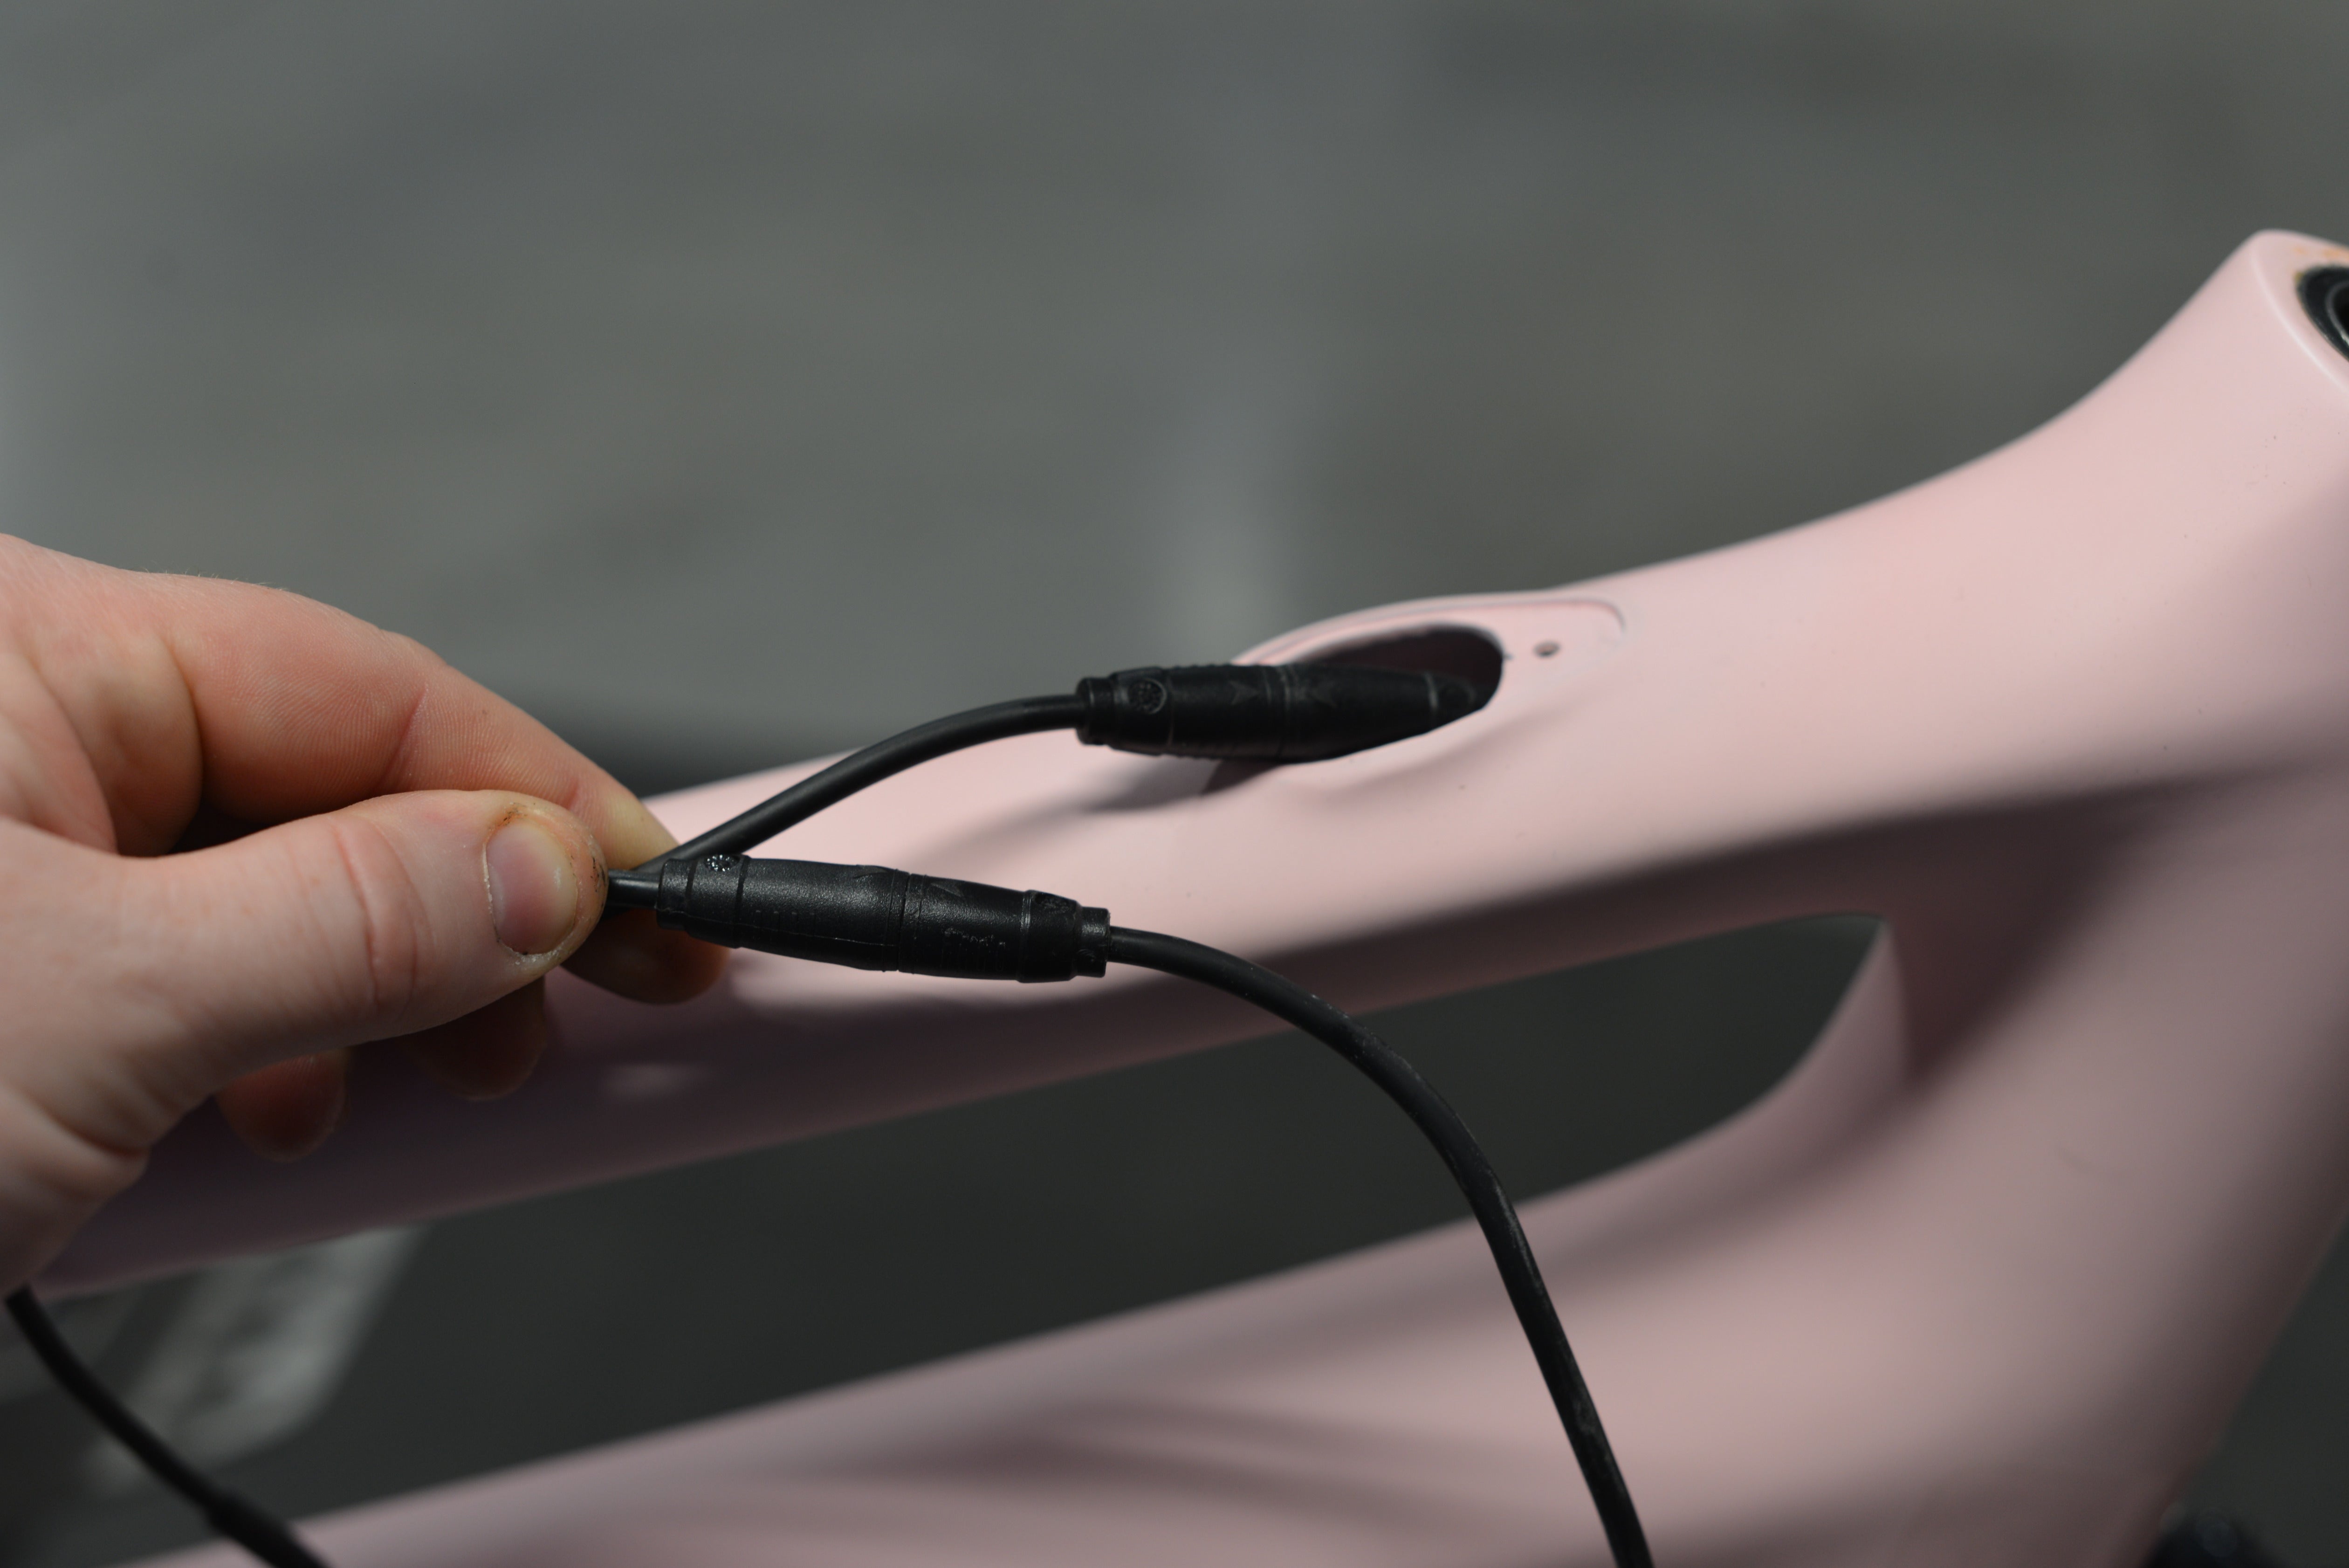
Steps 2
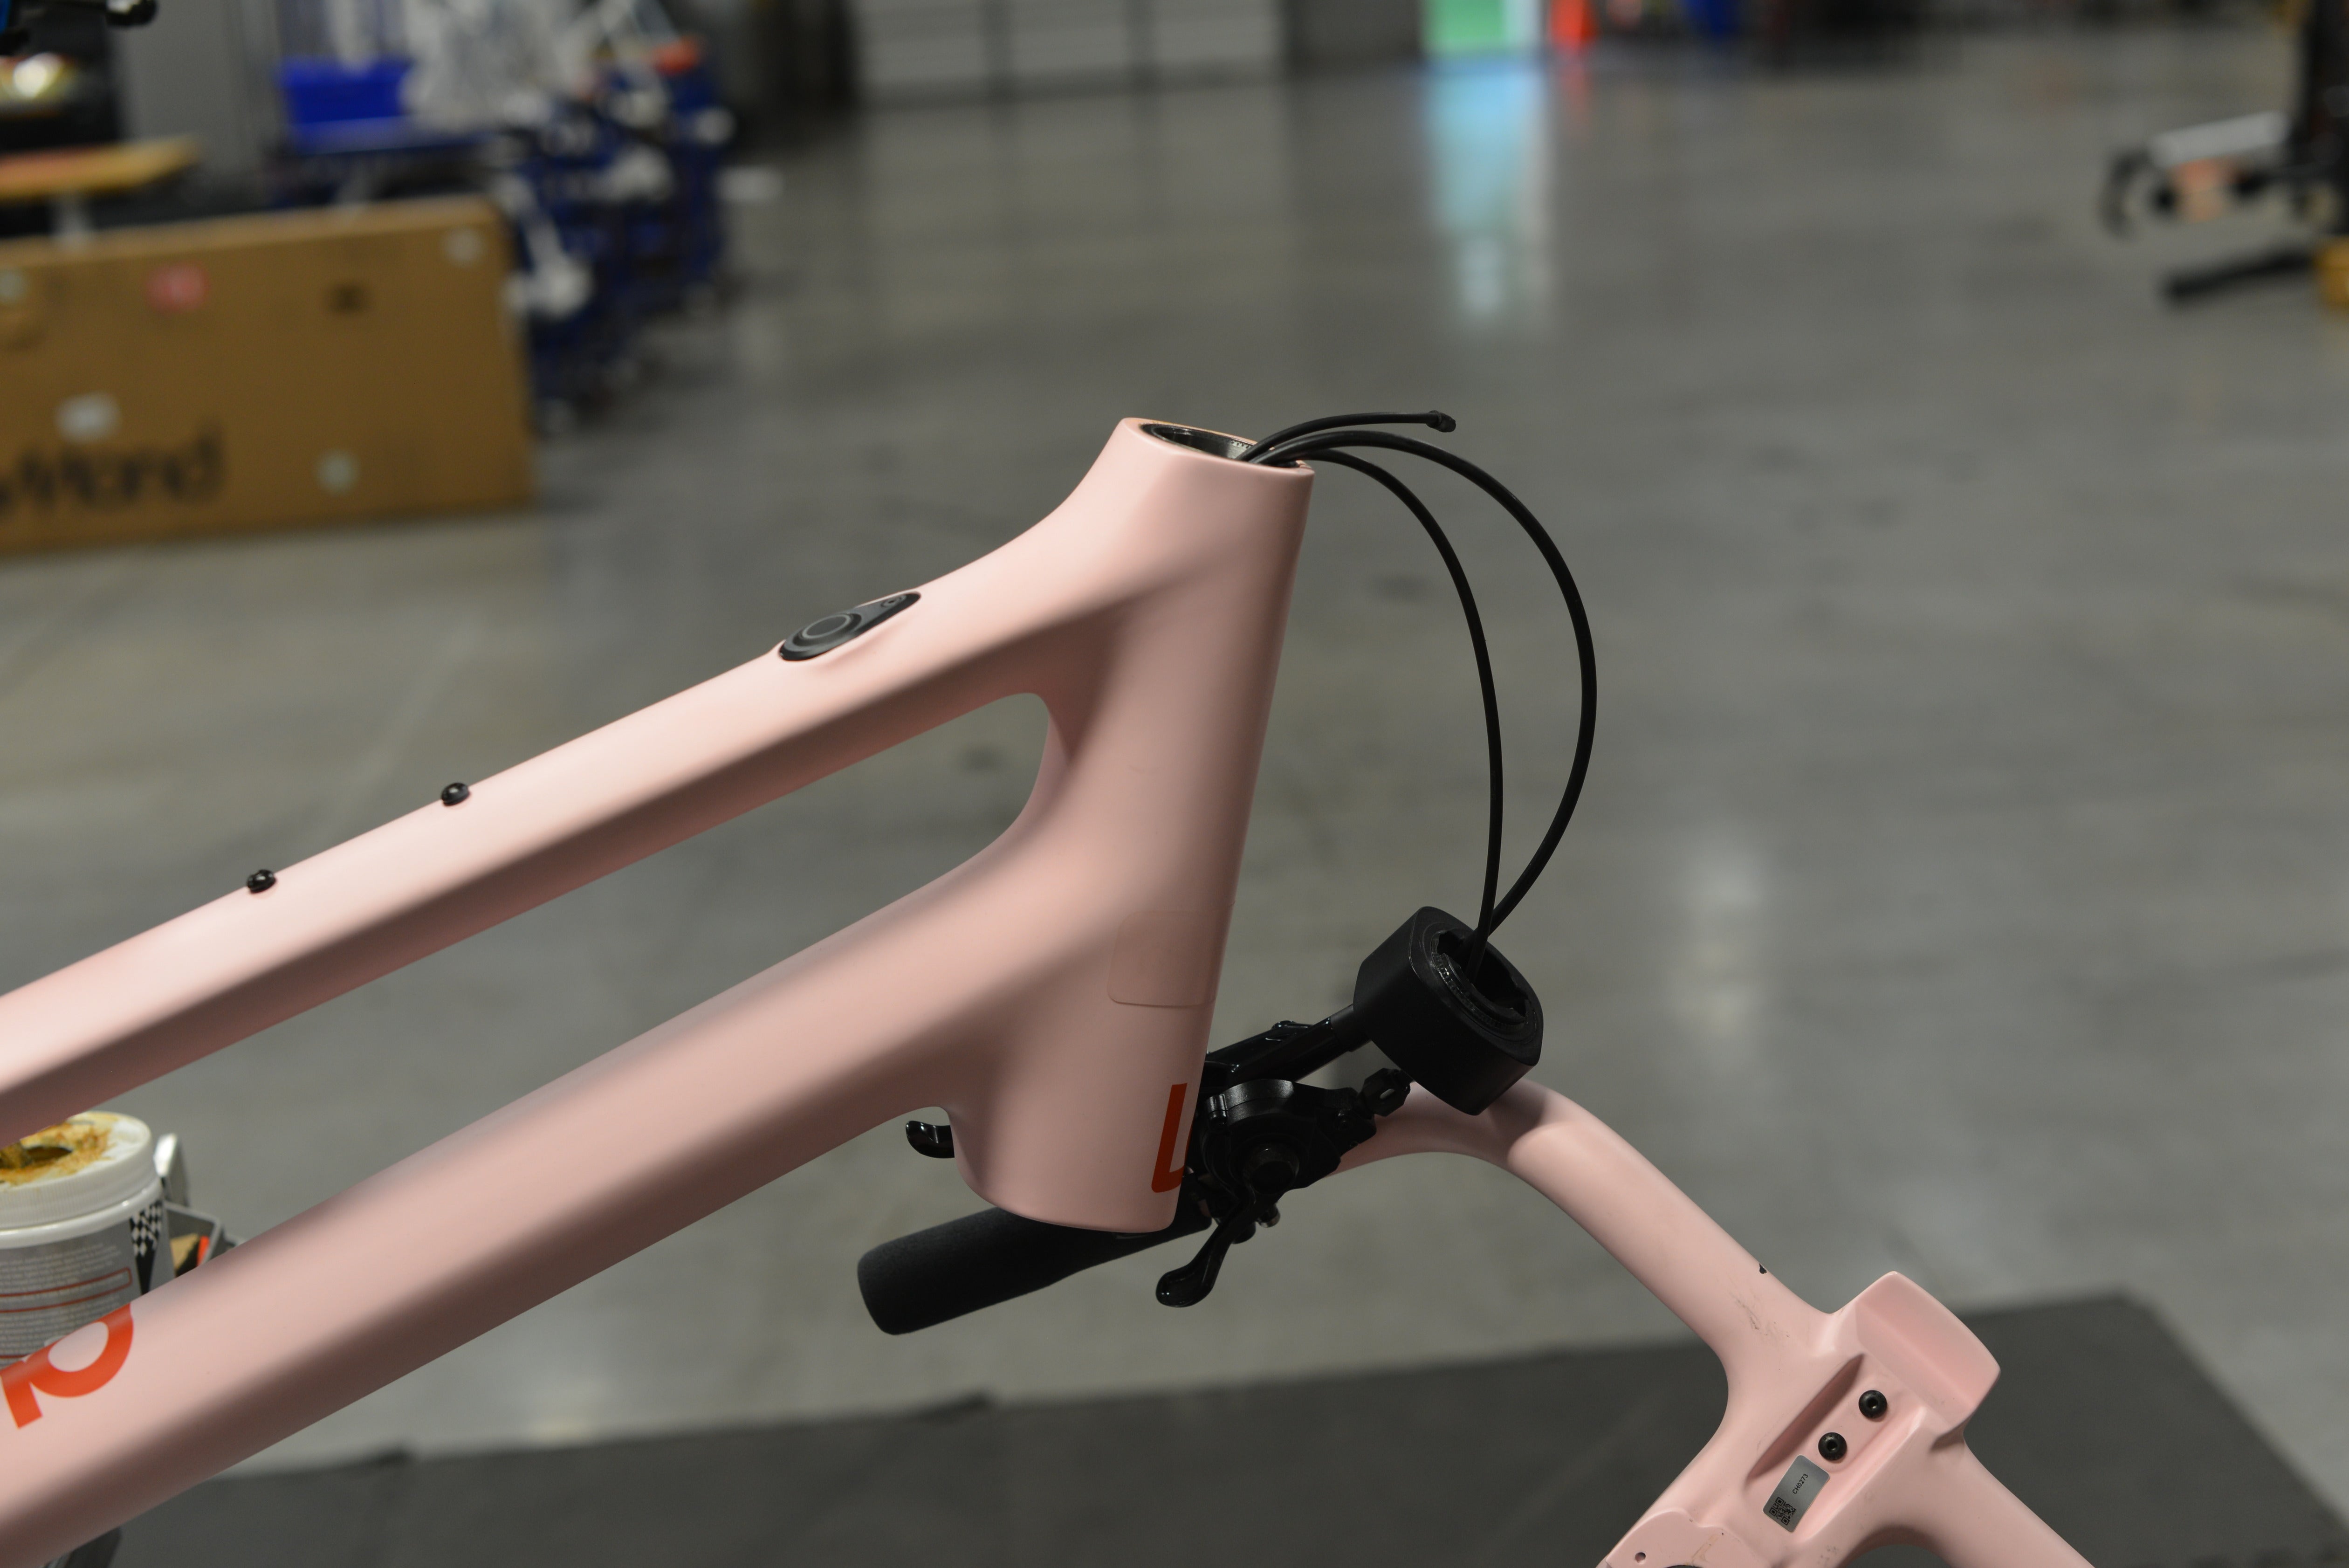
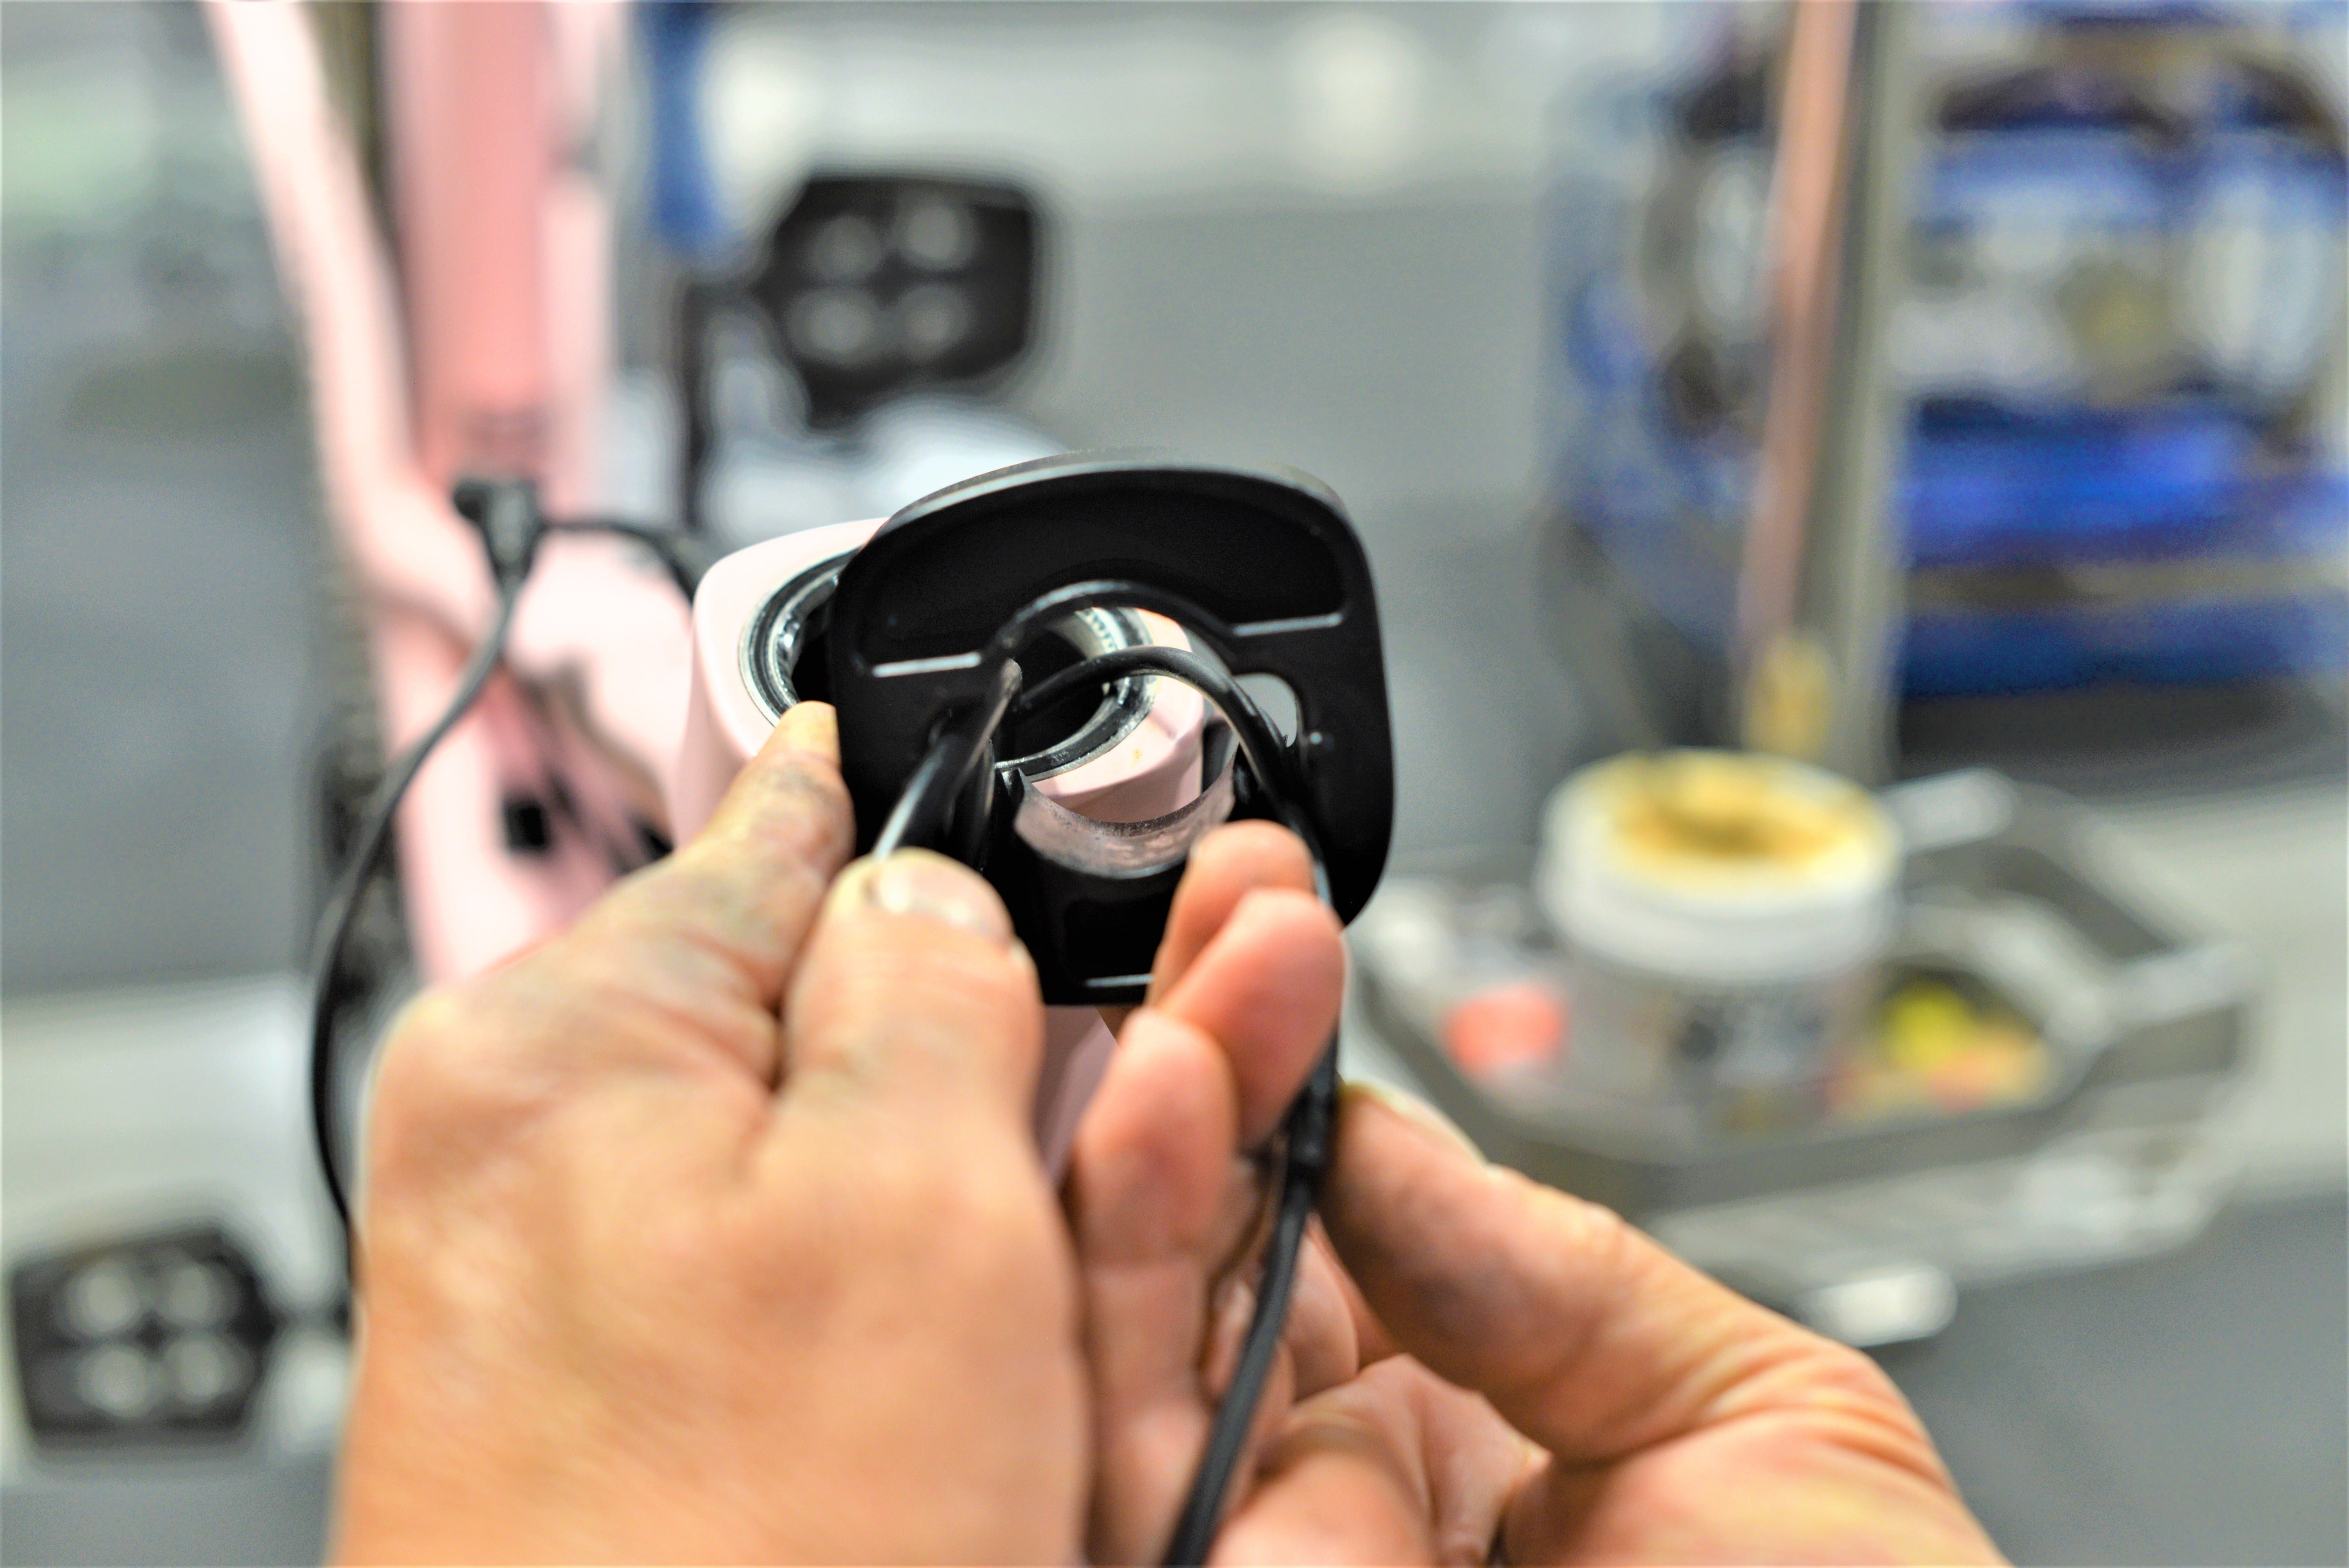
Steps 3
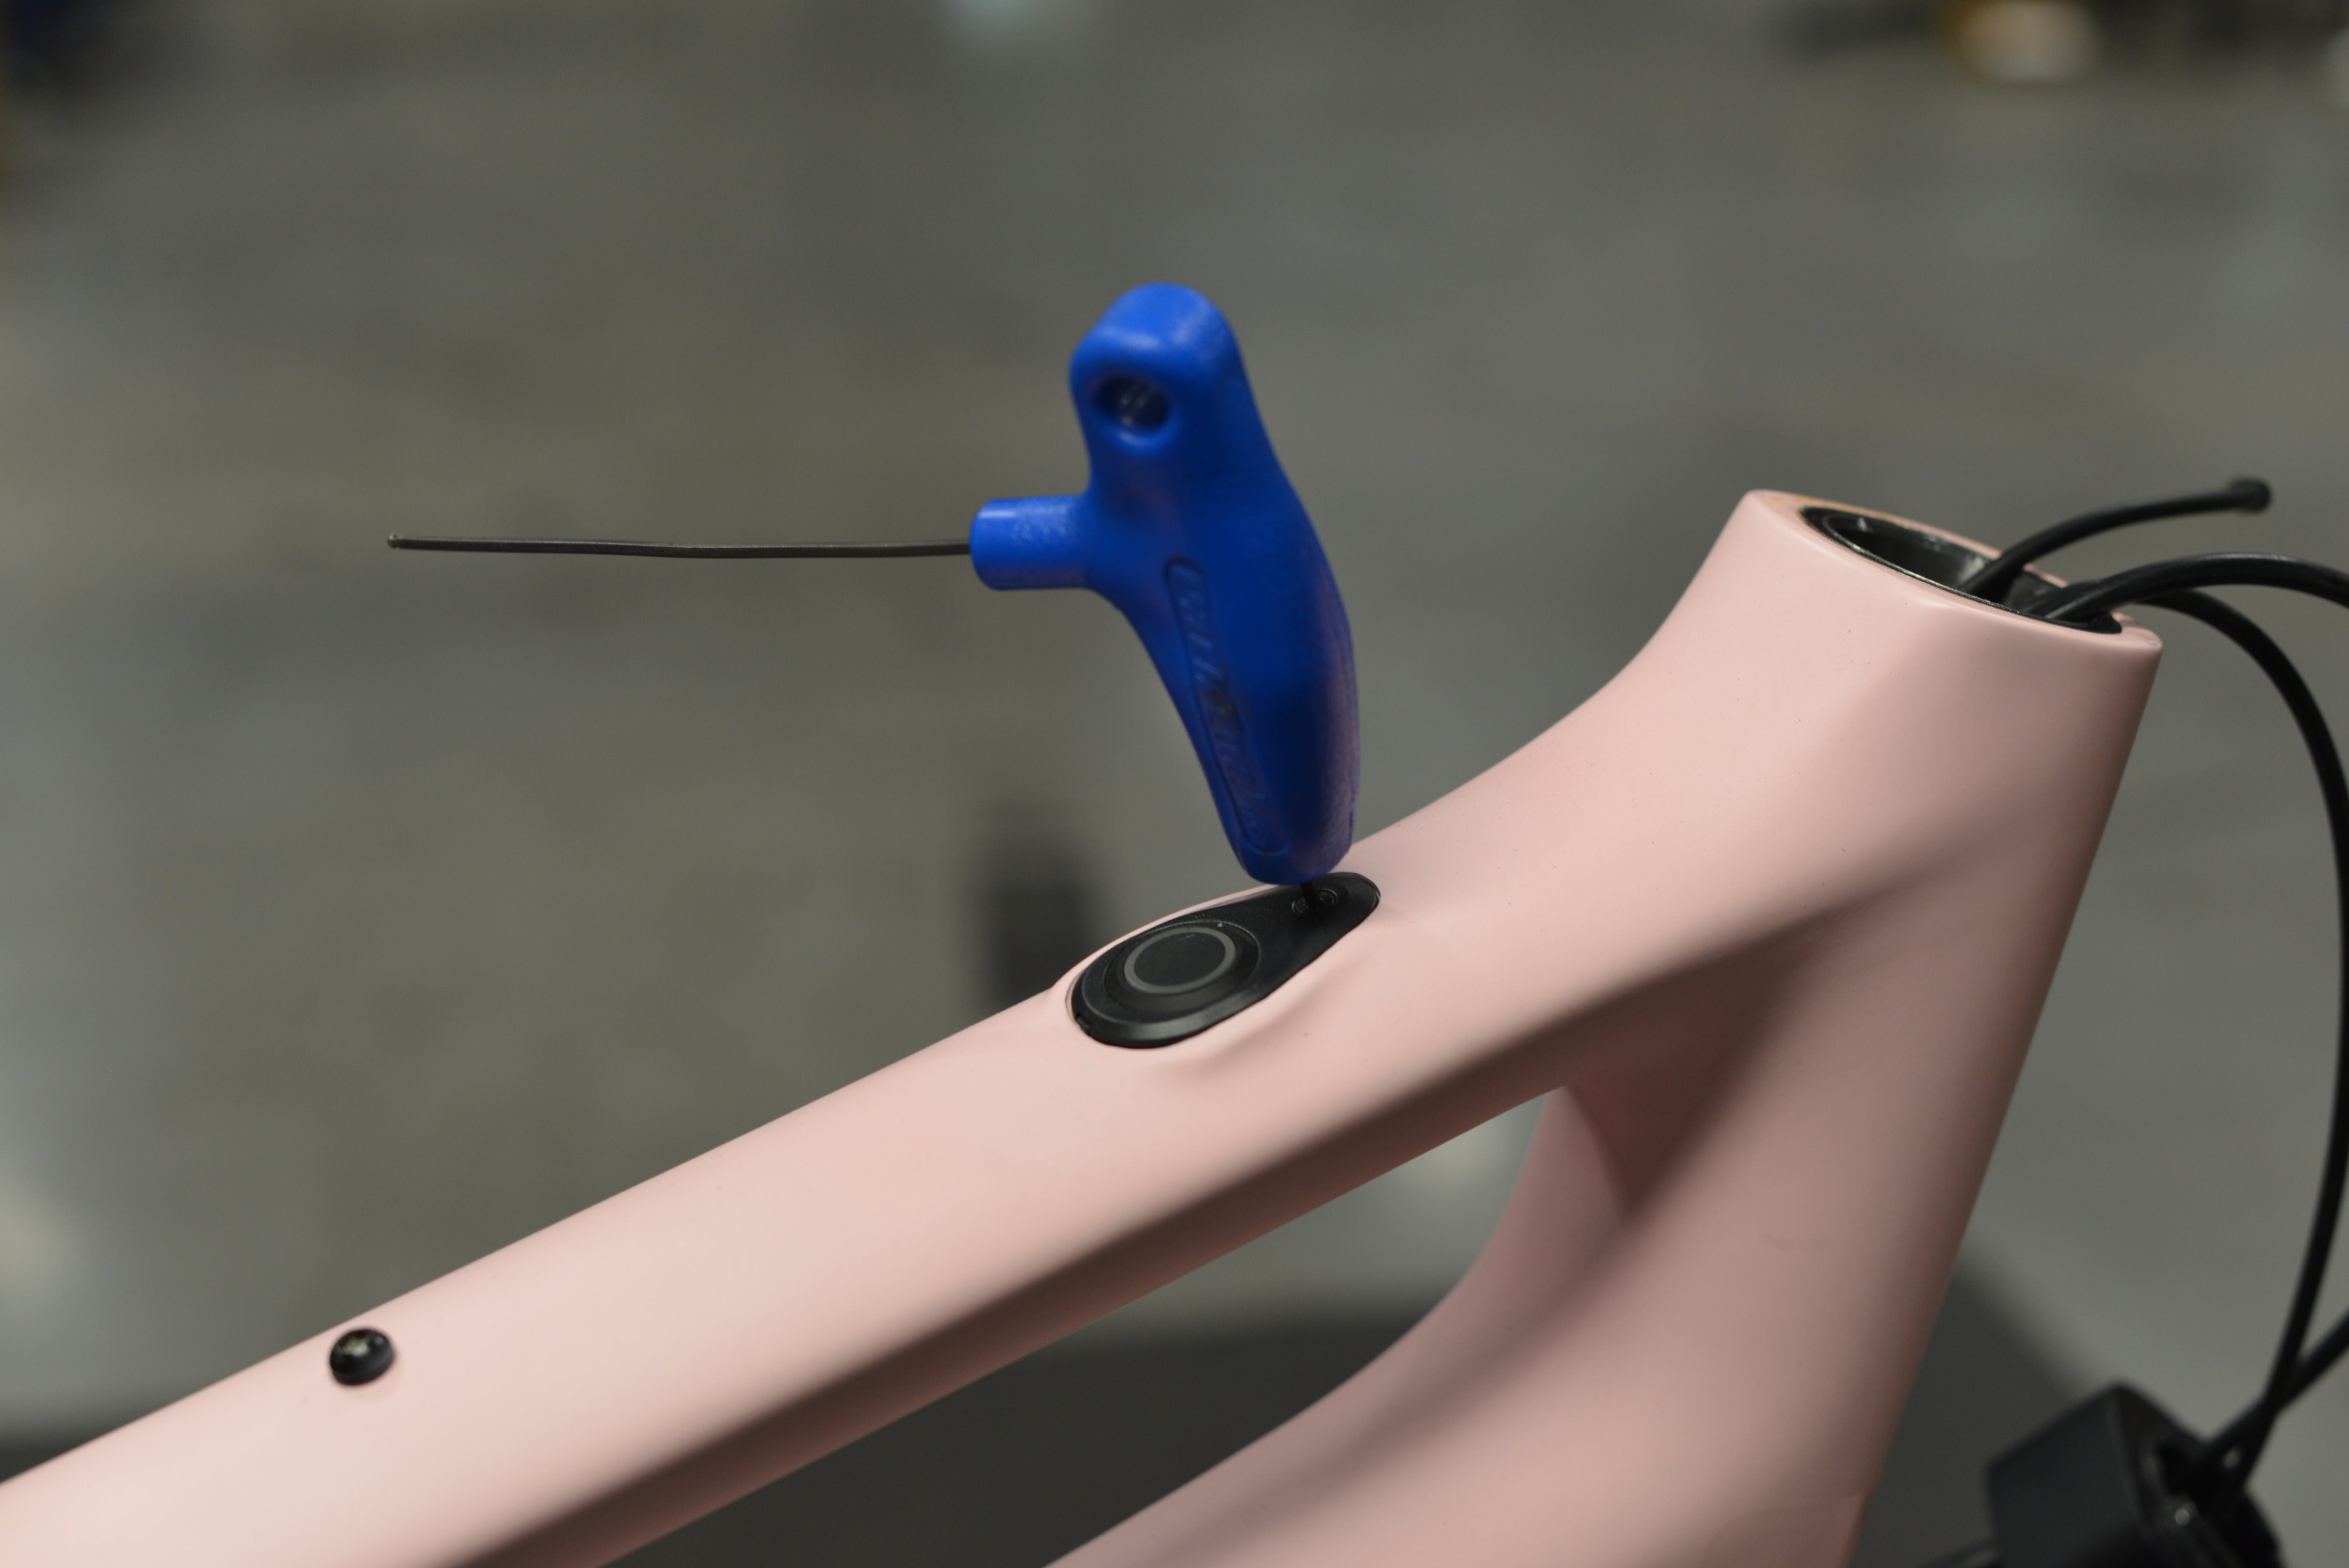
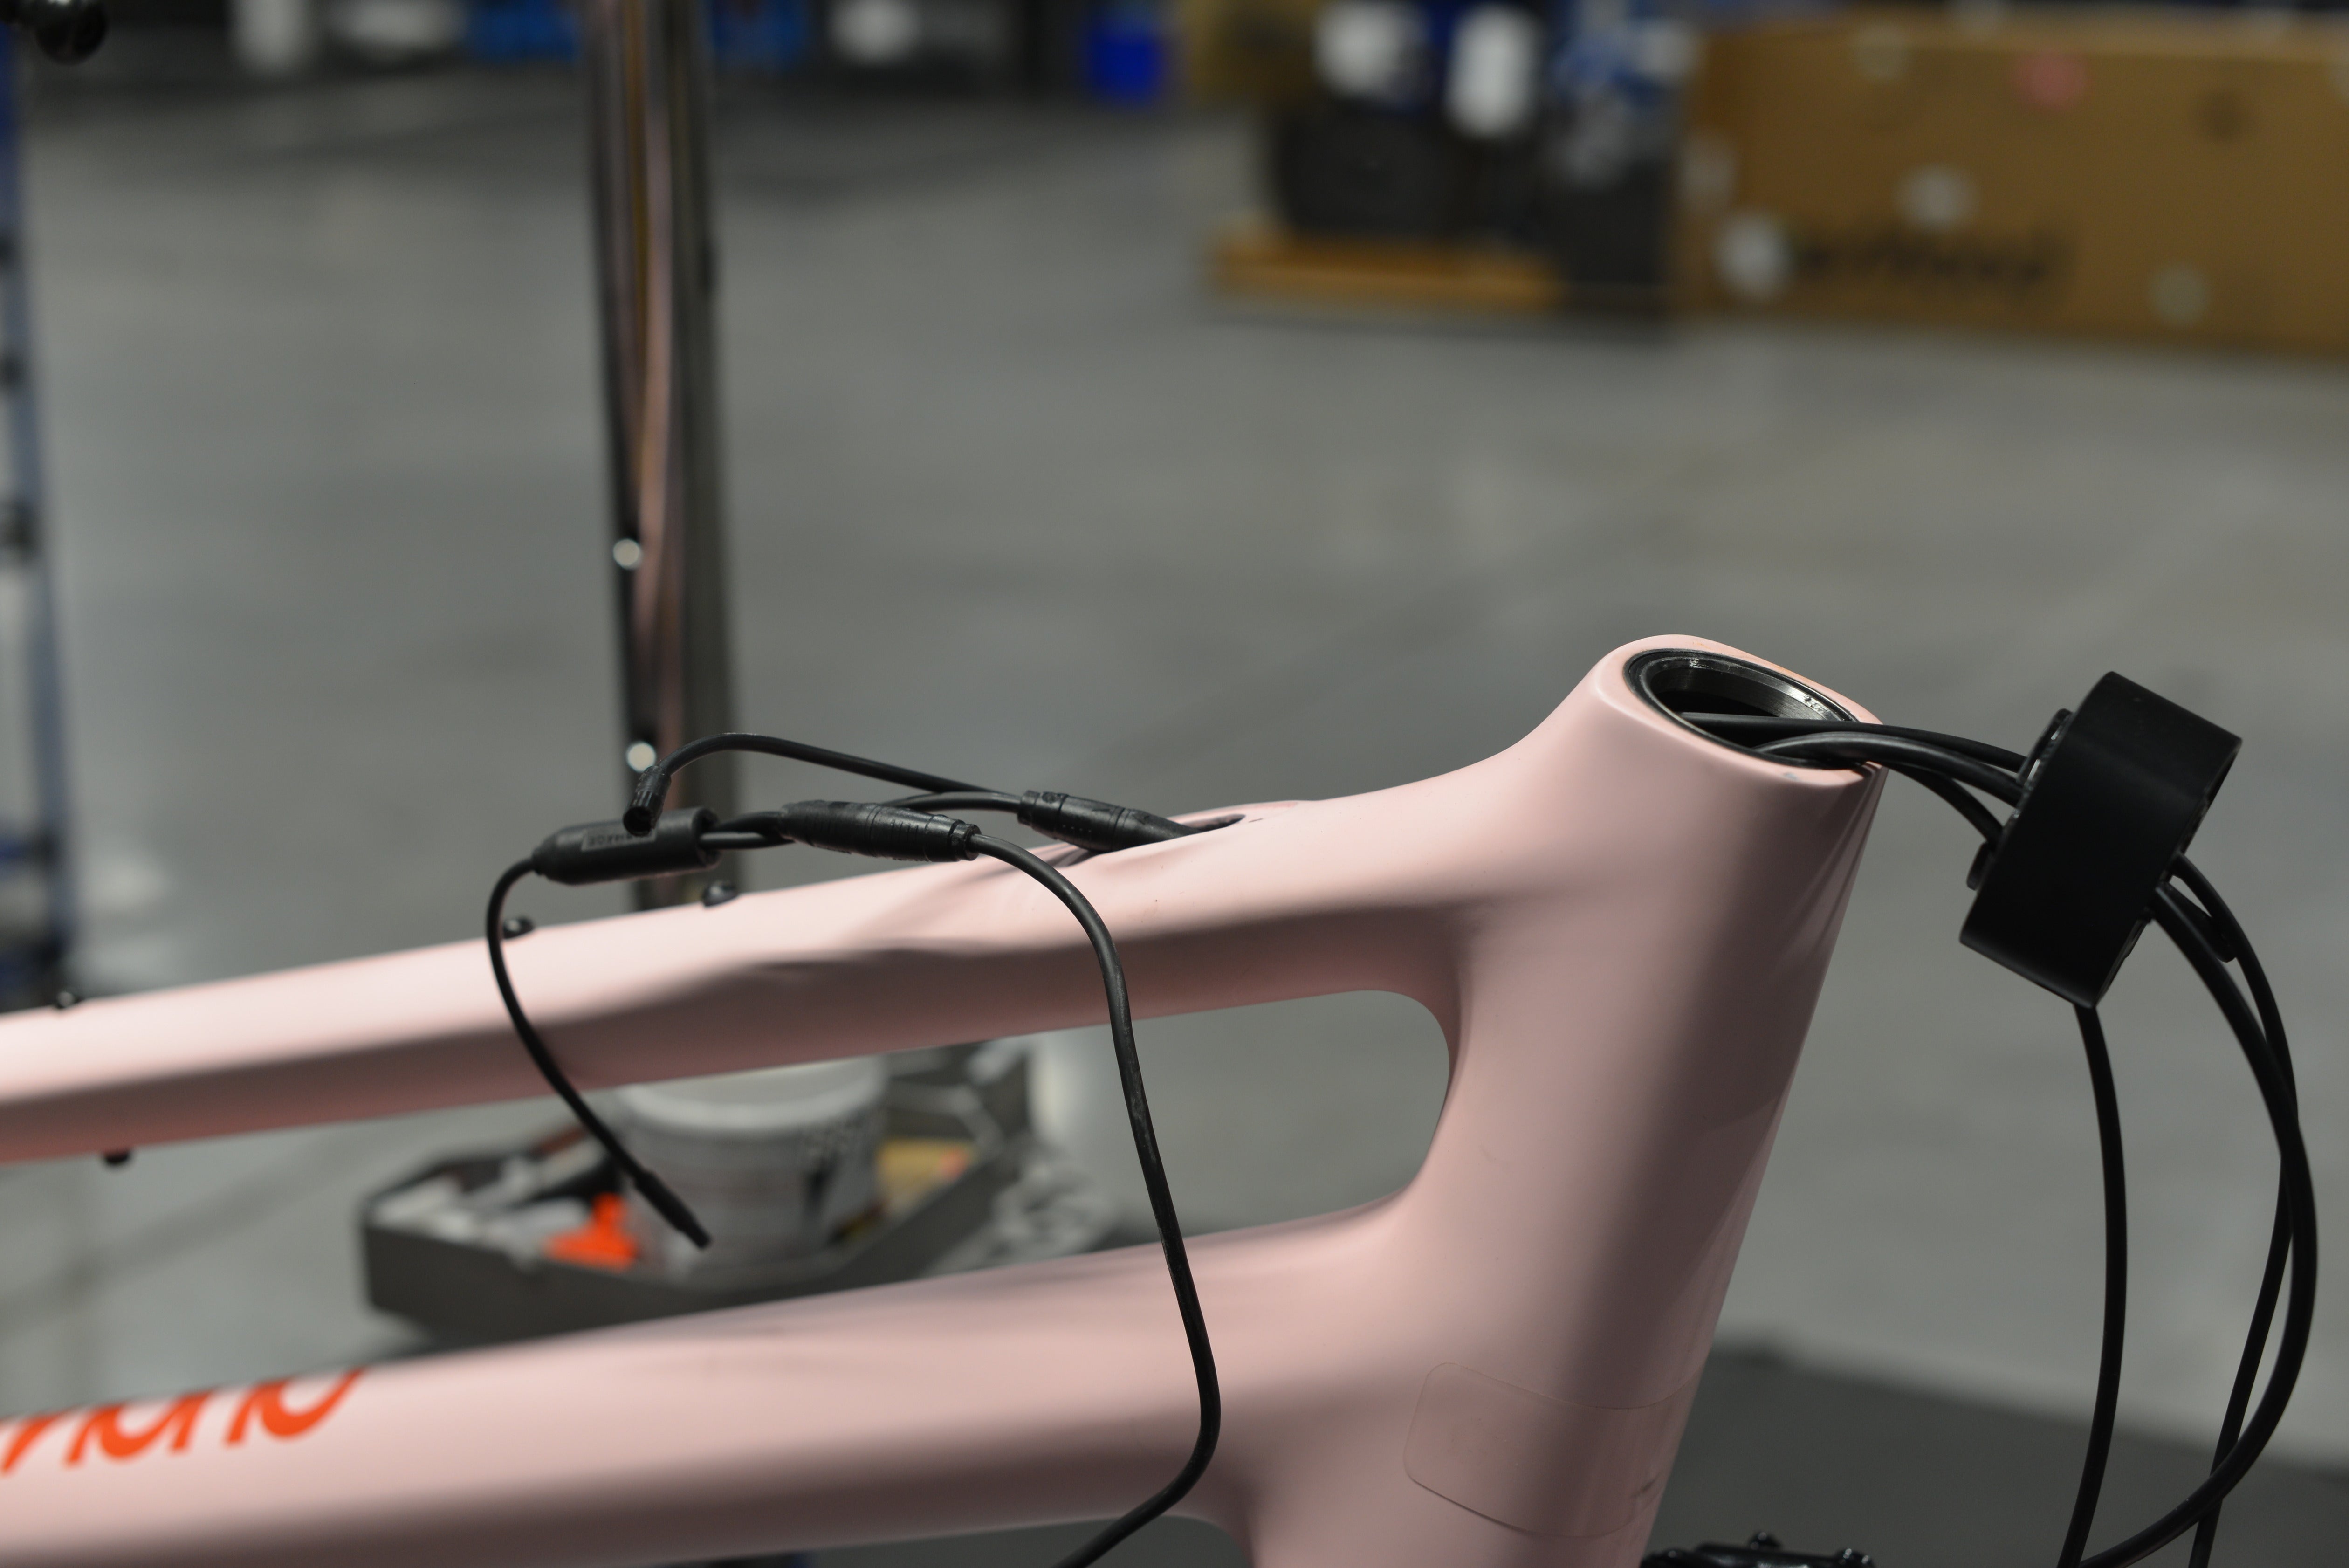
Steps 4
Steps 5
Steps 6
Steps 7
Steps 8
Steps 9
Steps 10
Steps 11
Steps 12
Steps 13
Steps 14
Steps 15
Steps 16
Steps 17
Steps 18
Steps 19